Okay – 12 days til move in. We are actually on schedule, thanks to my wonderful contractor and his crew who worked through all the holidays for us. It won’t be 100% but it will be close enough! As we patiently await the marble and lacquered doors for the kitchen, the bathrooms are kicking ass.
The jack & jill bathroom (aka Brady’s bathroom for now) has been really fun to design. I wanted to do something bold and different and youthful. I also wanted to make sure it was kid-friendly in terms of materials and design. It was already set up as a jack & jill, which means it is accessible from 2 bedrooms, and hopefully that other bedroom will one day be for baby #2!
Here is a look at the before:


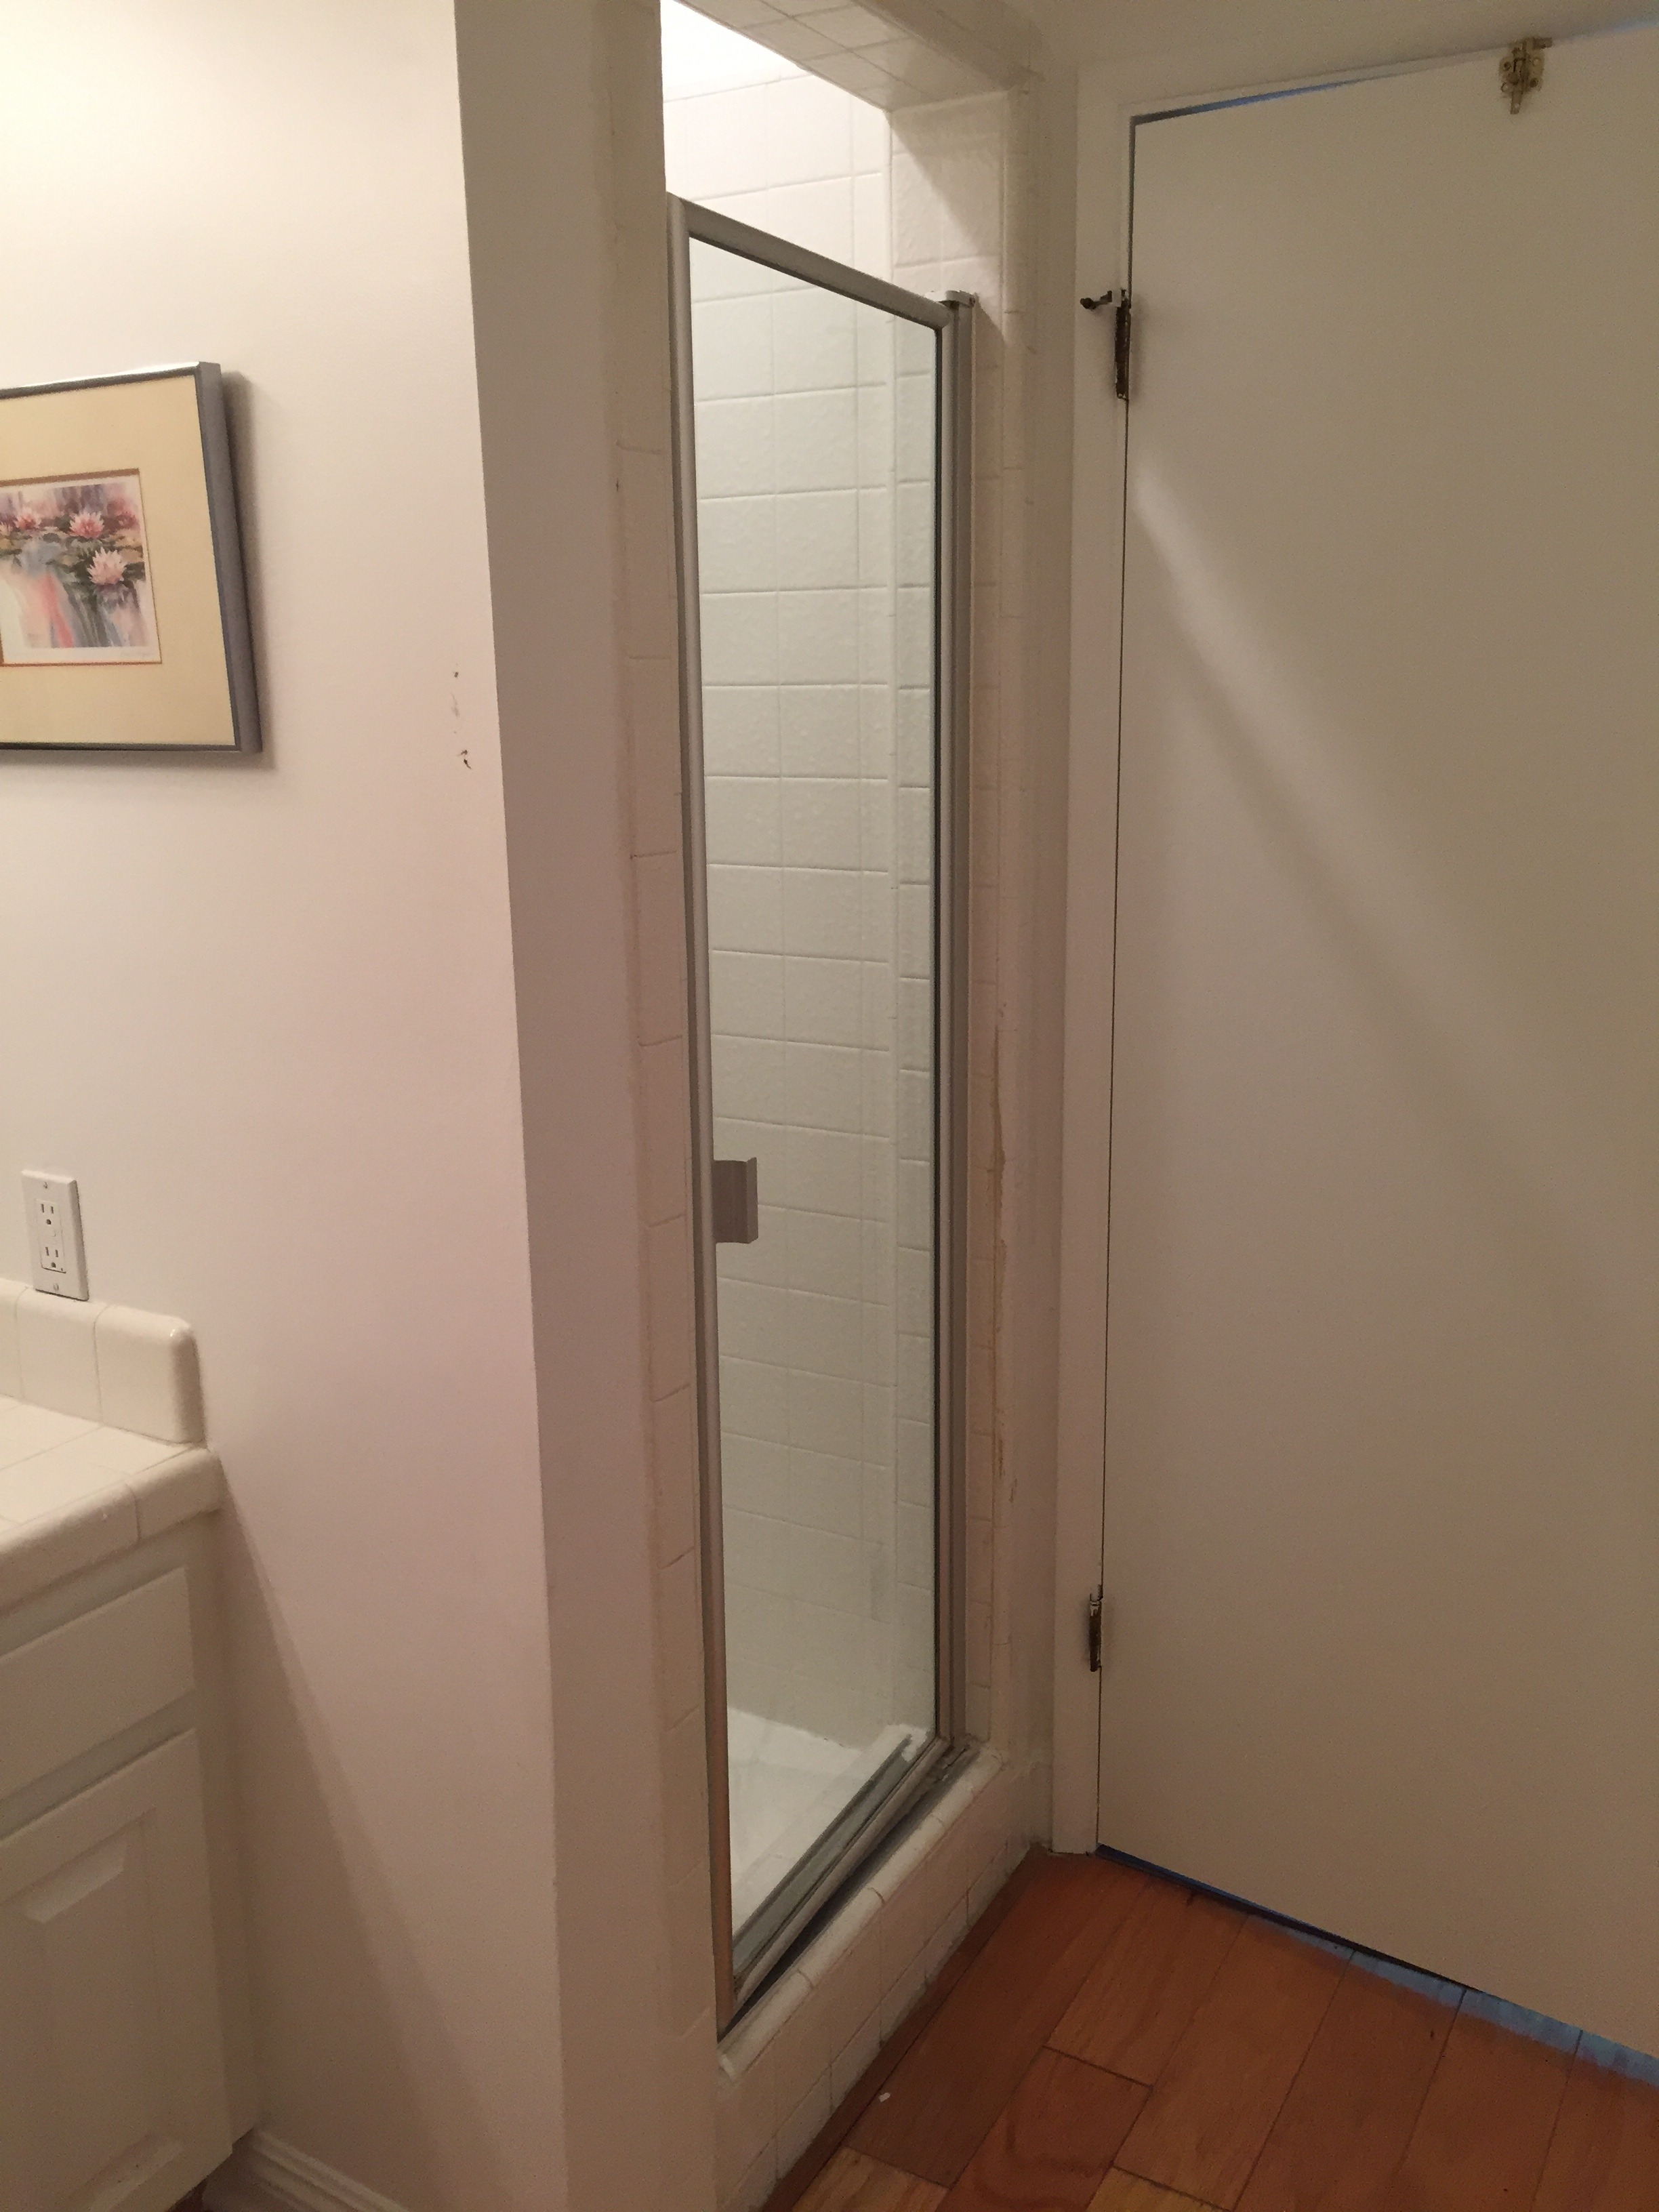 The only real issue with the existing layout was there was only a small shower (no tub) and a double vanity. In an ideal world we would have a shower/tub combo AND a double vanity, but there isn’t room for both. So, we decided to make a single vanity and change the shower stall to a tub/shower combo. We demo’d everything, but kept the plumbing in the same place which makes things much simpler.
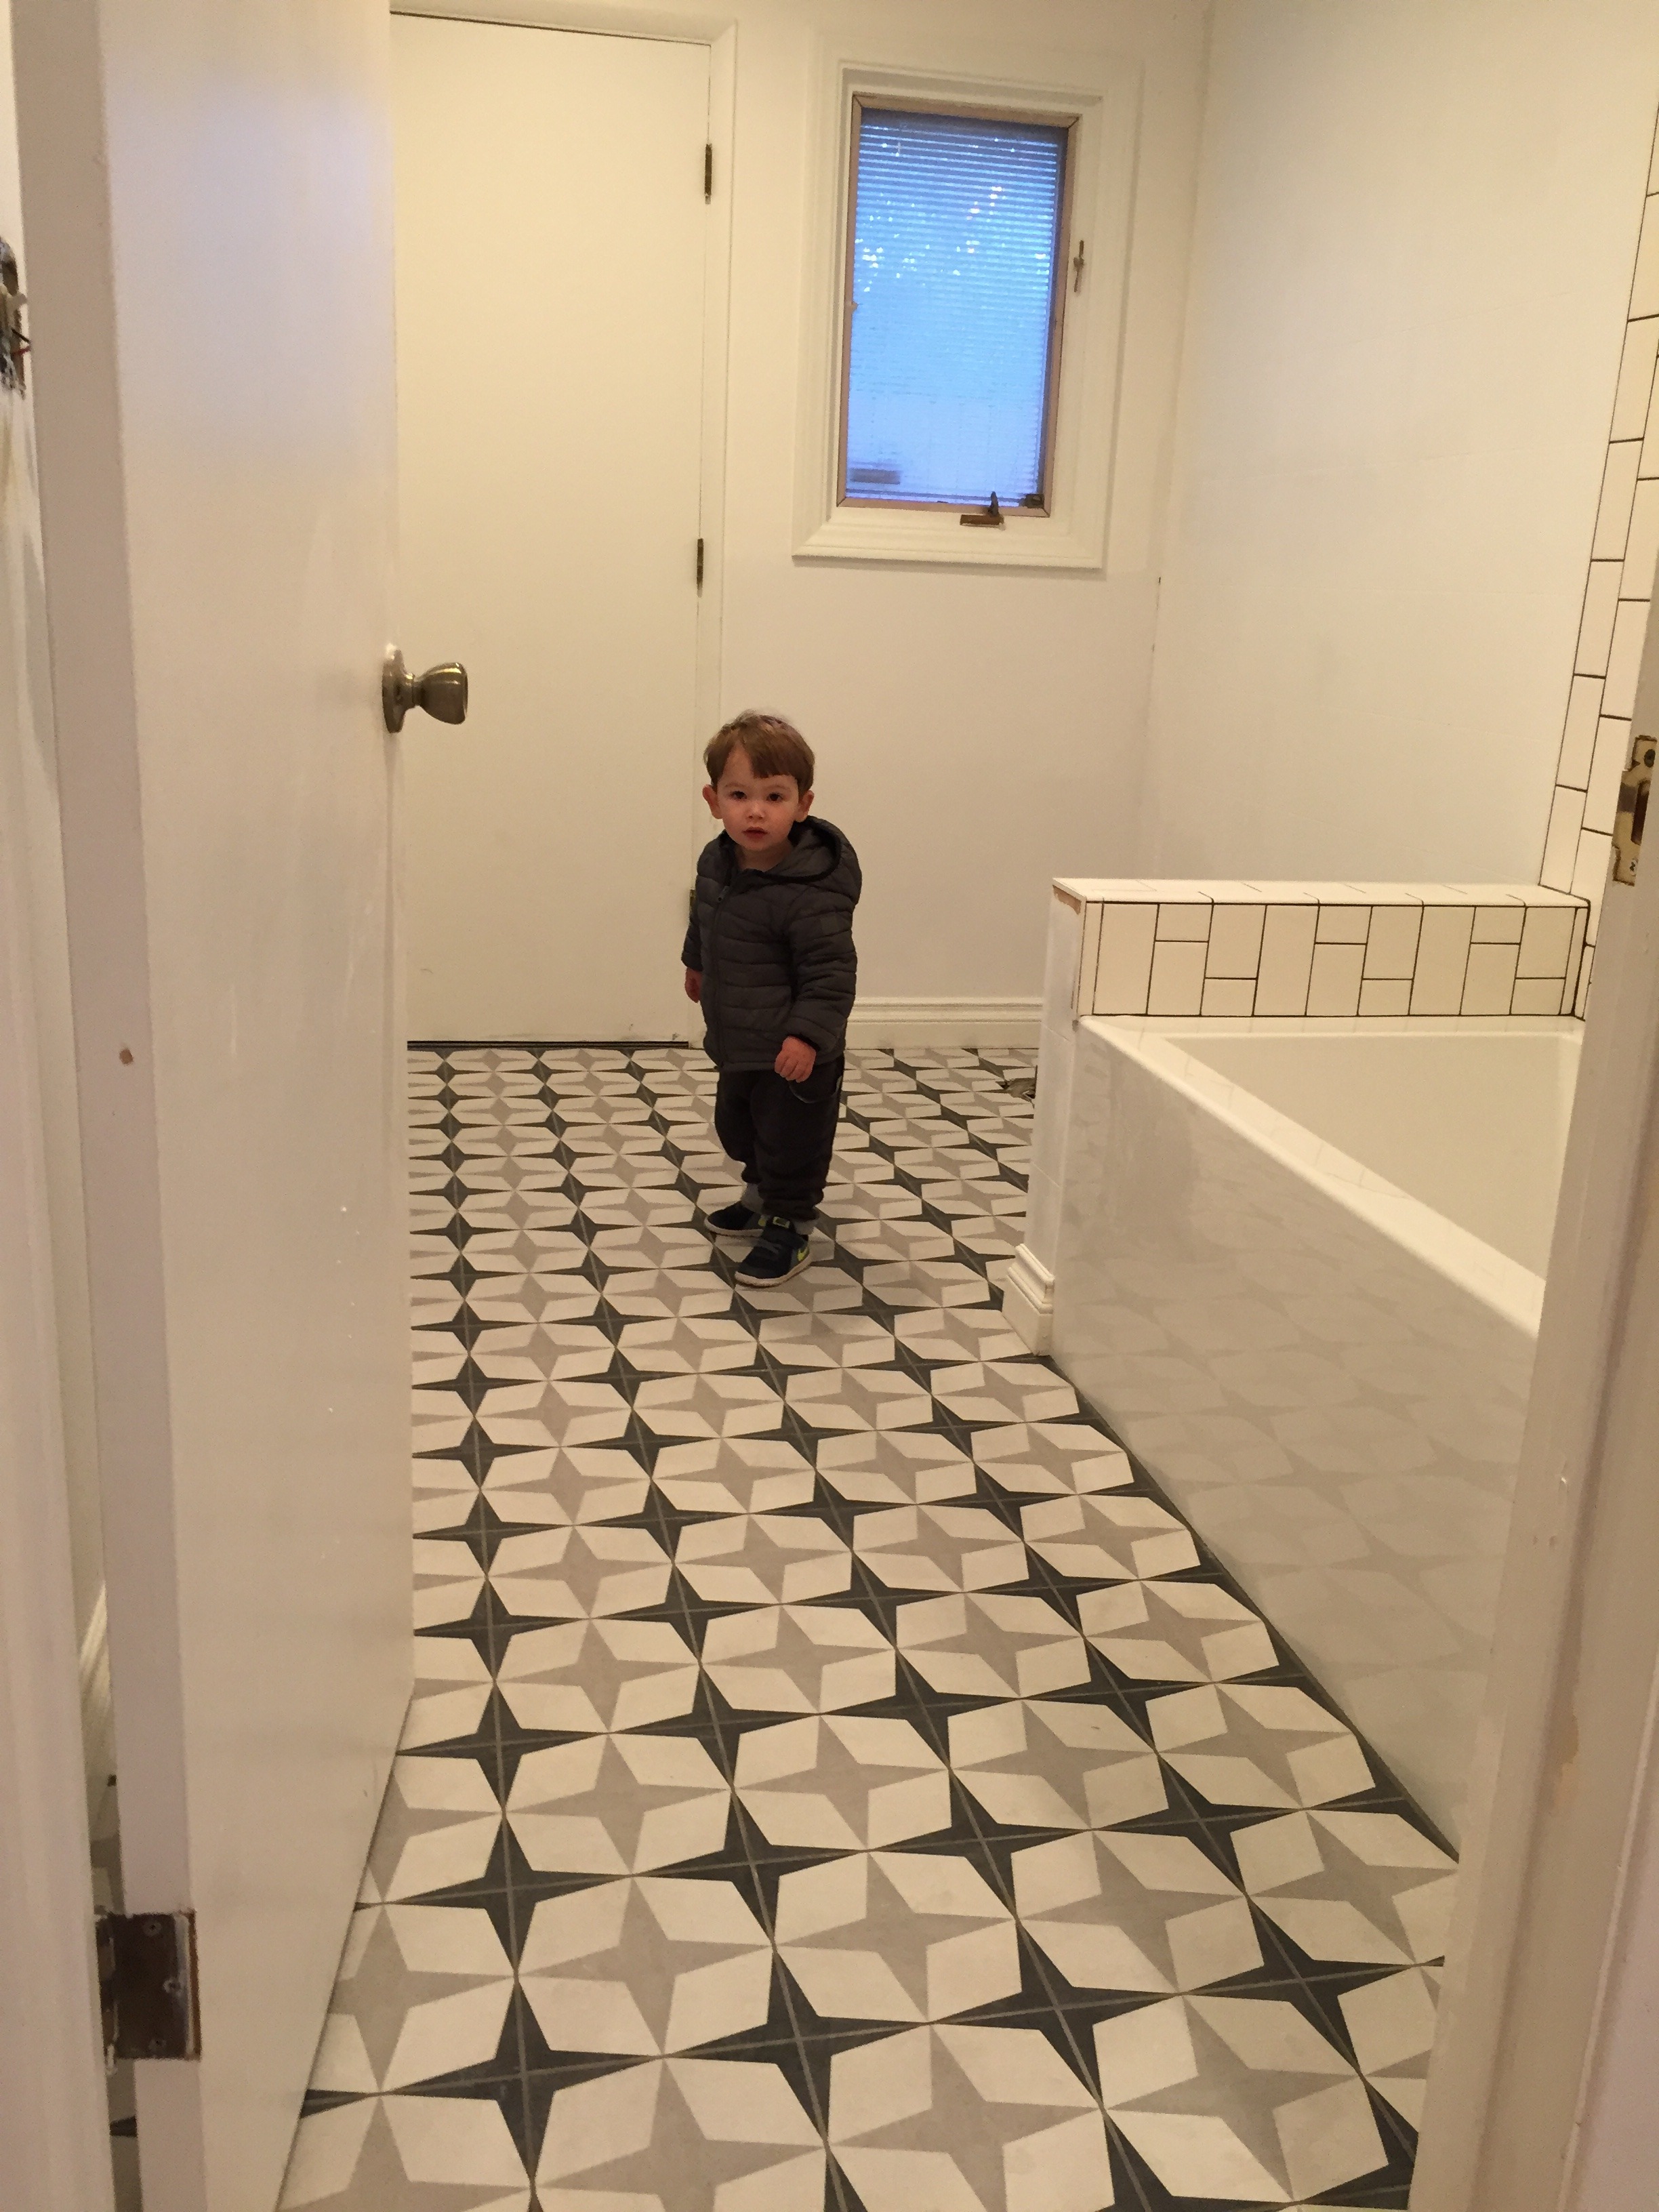
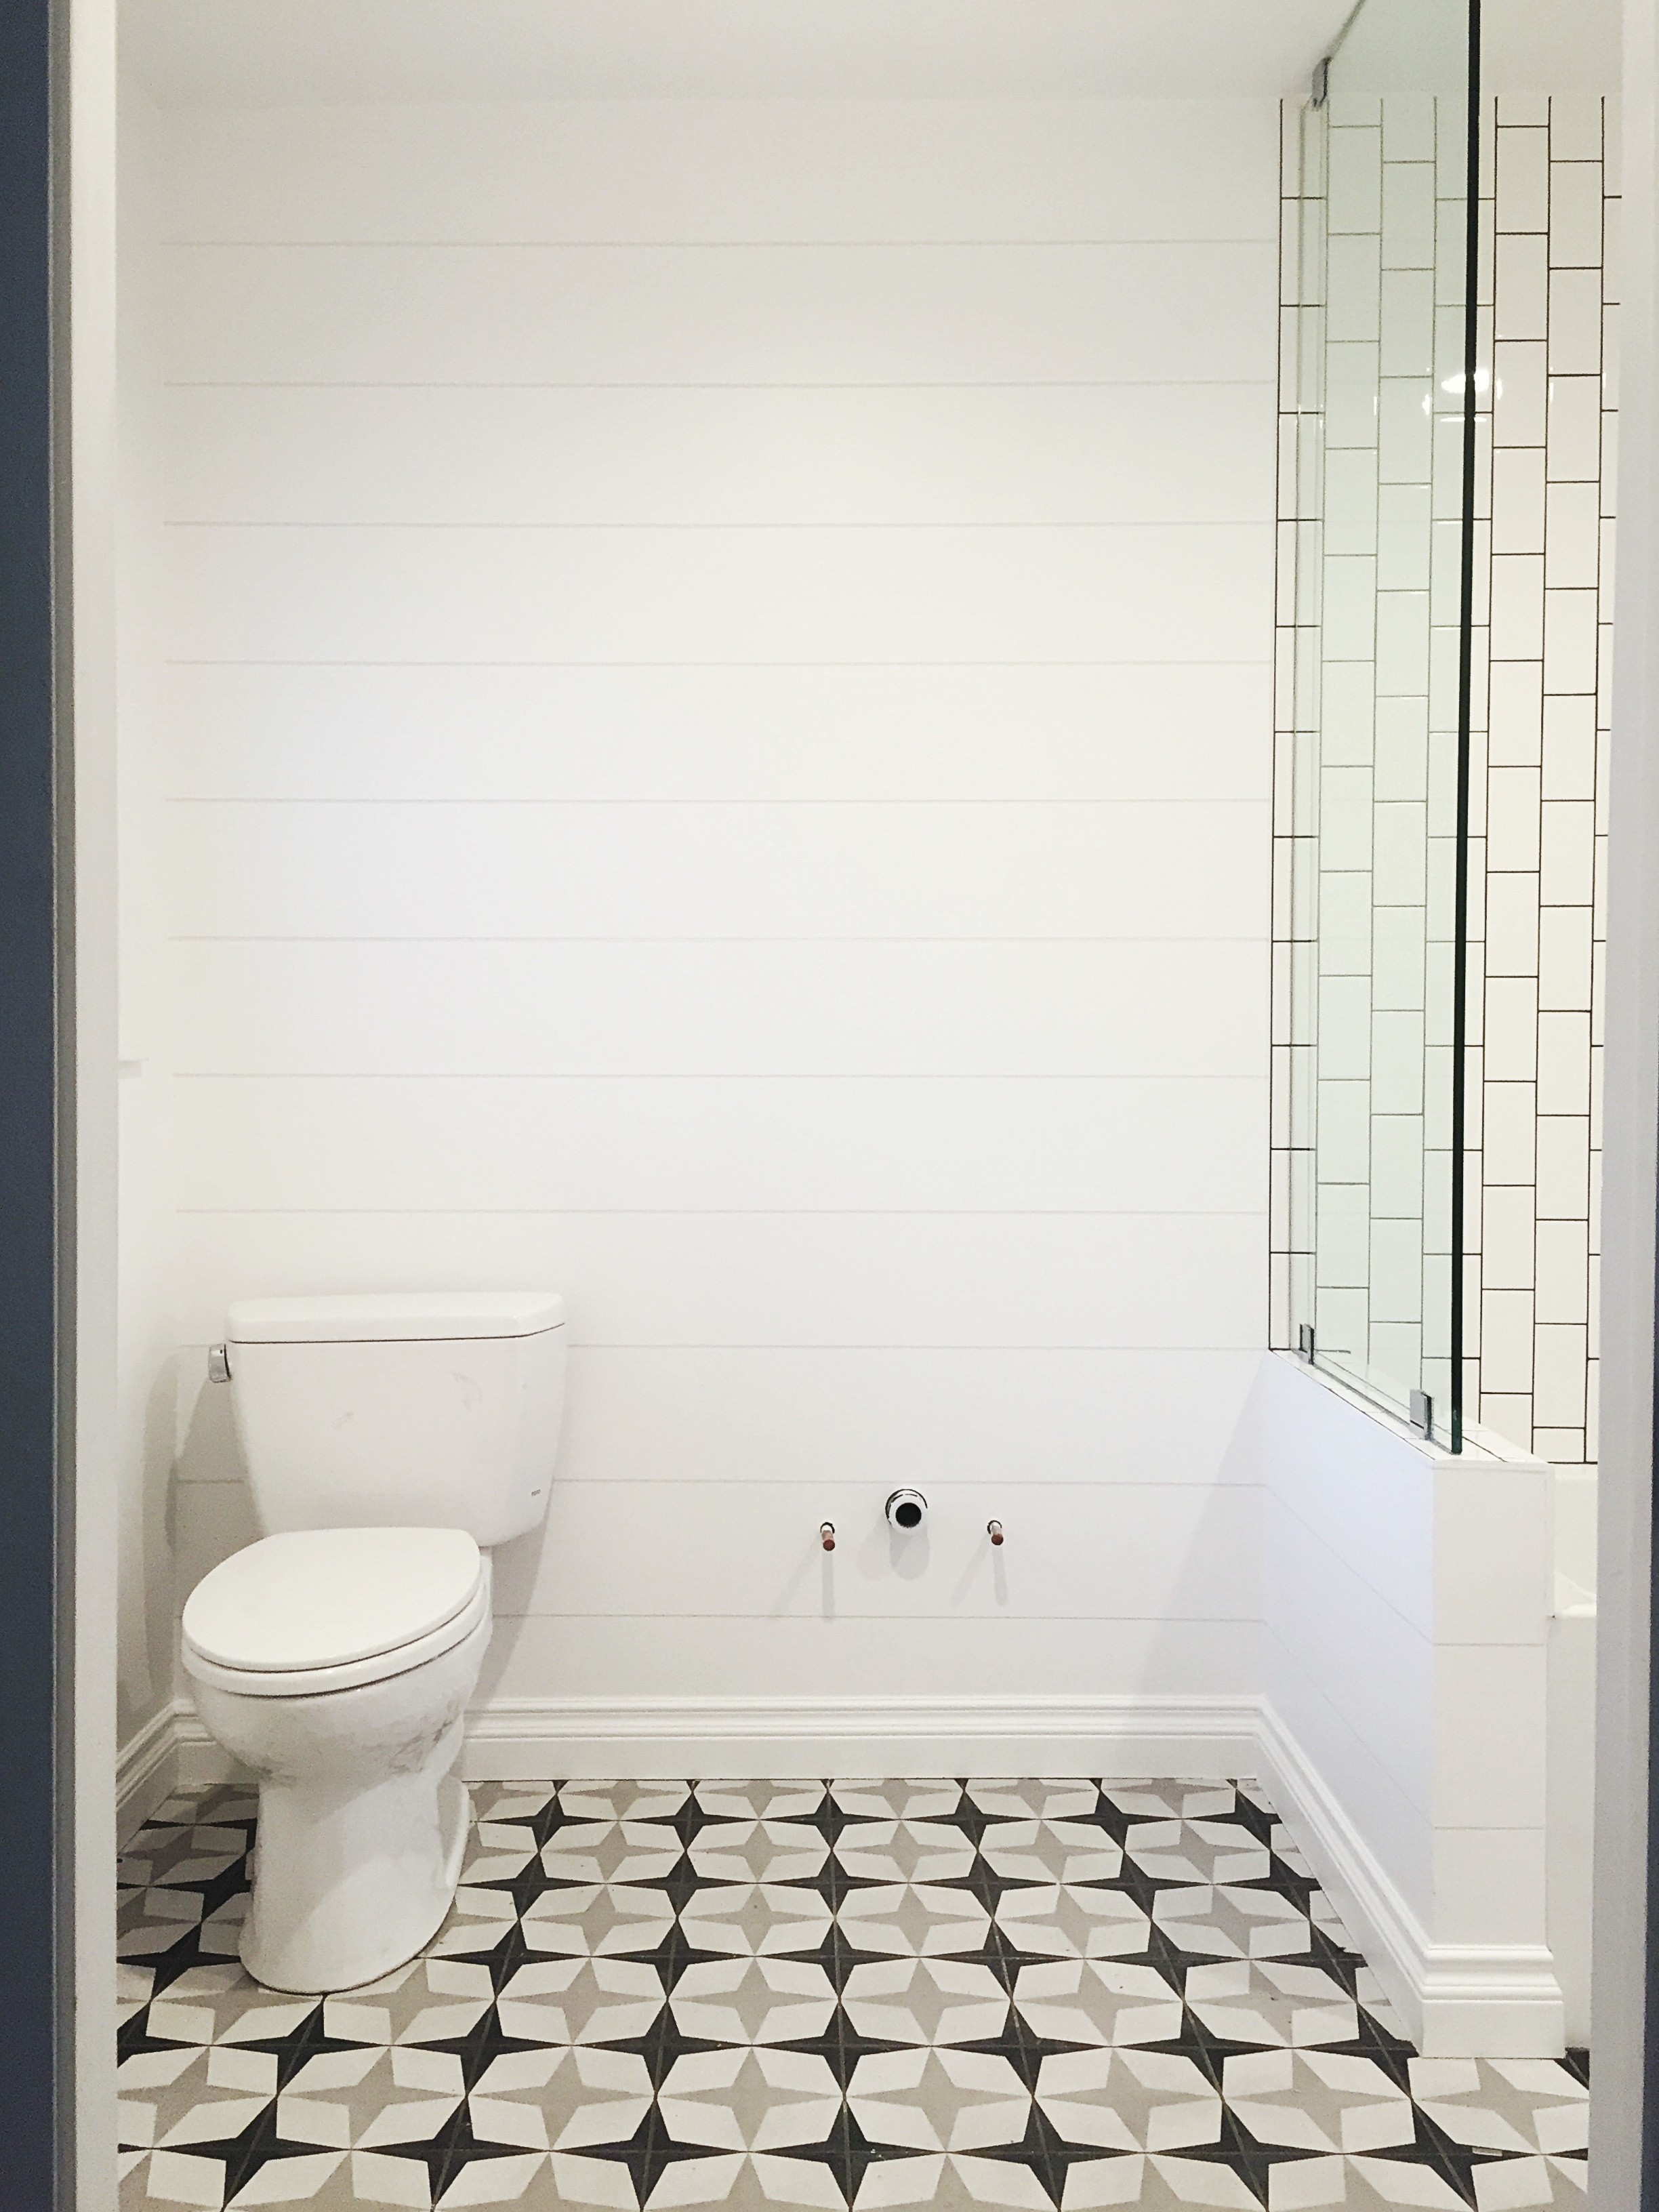
I knew I wanted to do a black & white tile in here, and I was considering doing a encaustic cement tile on the floor because I LOVE them, but I was told by so many experts that they are very difficult to maintain and do not wear well. Considering this is a bathroom for kids, that just didn’t seem like the smart choice. Lucky me, I walked into Classic Tile in Santa Monica and found these awesome PORCELAIN (read: indestructible) tiles:
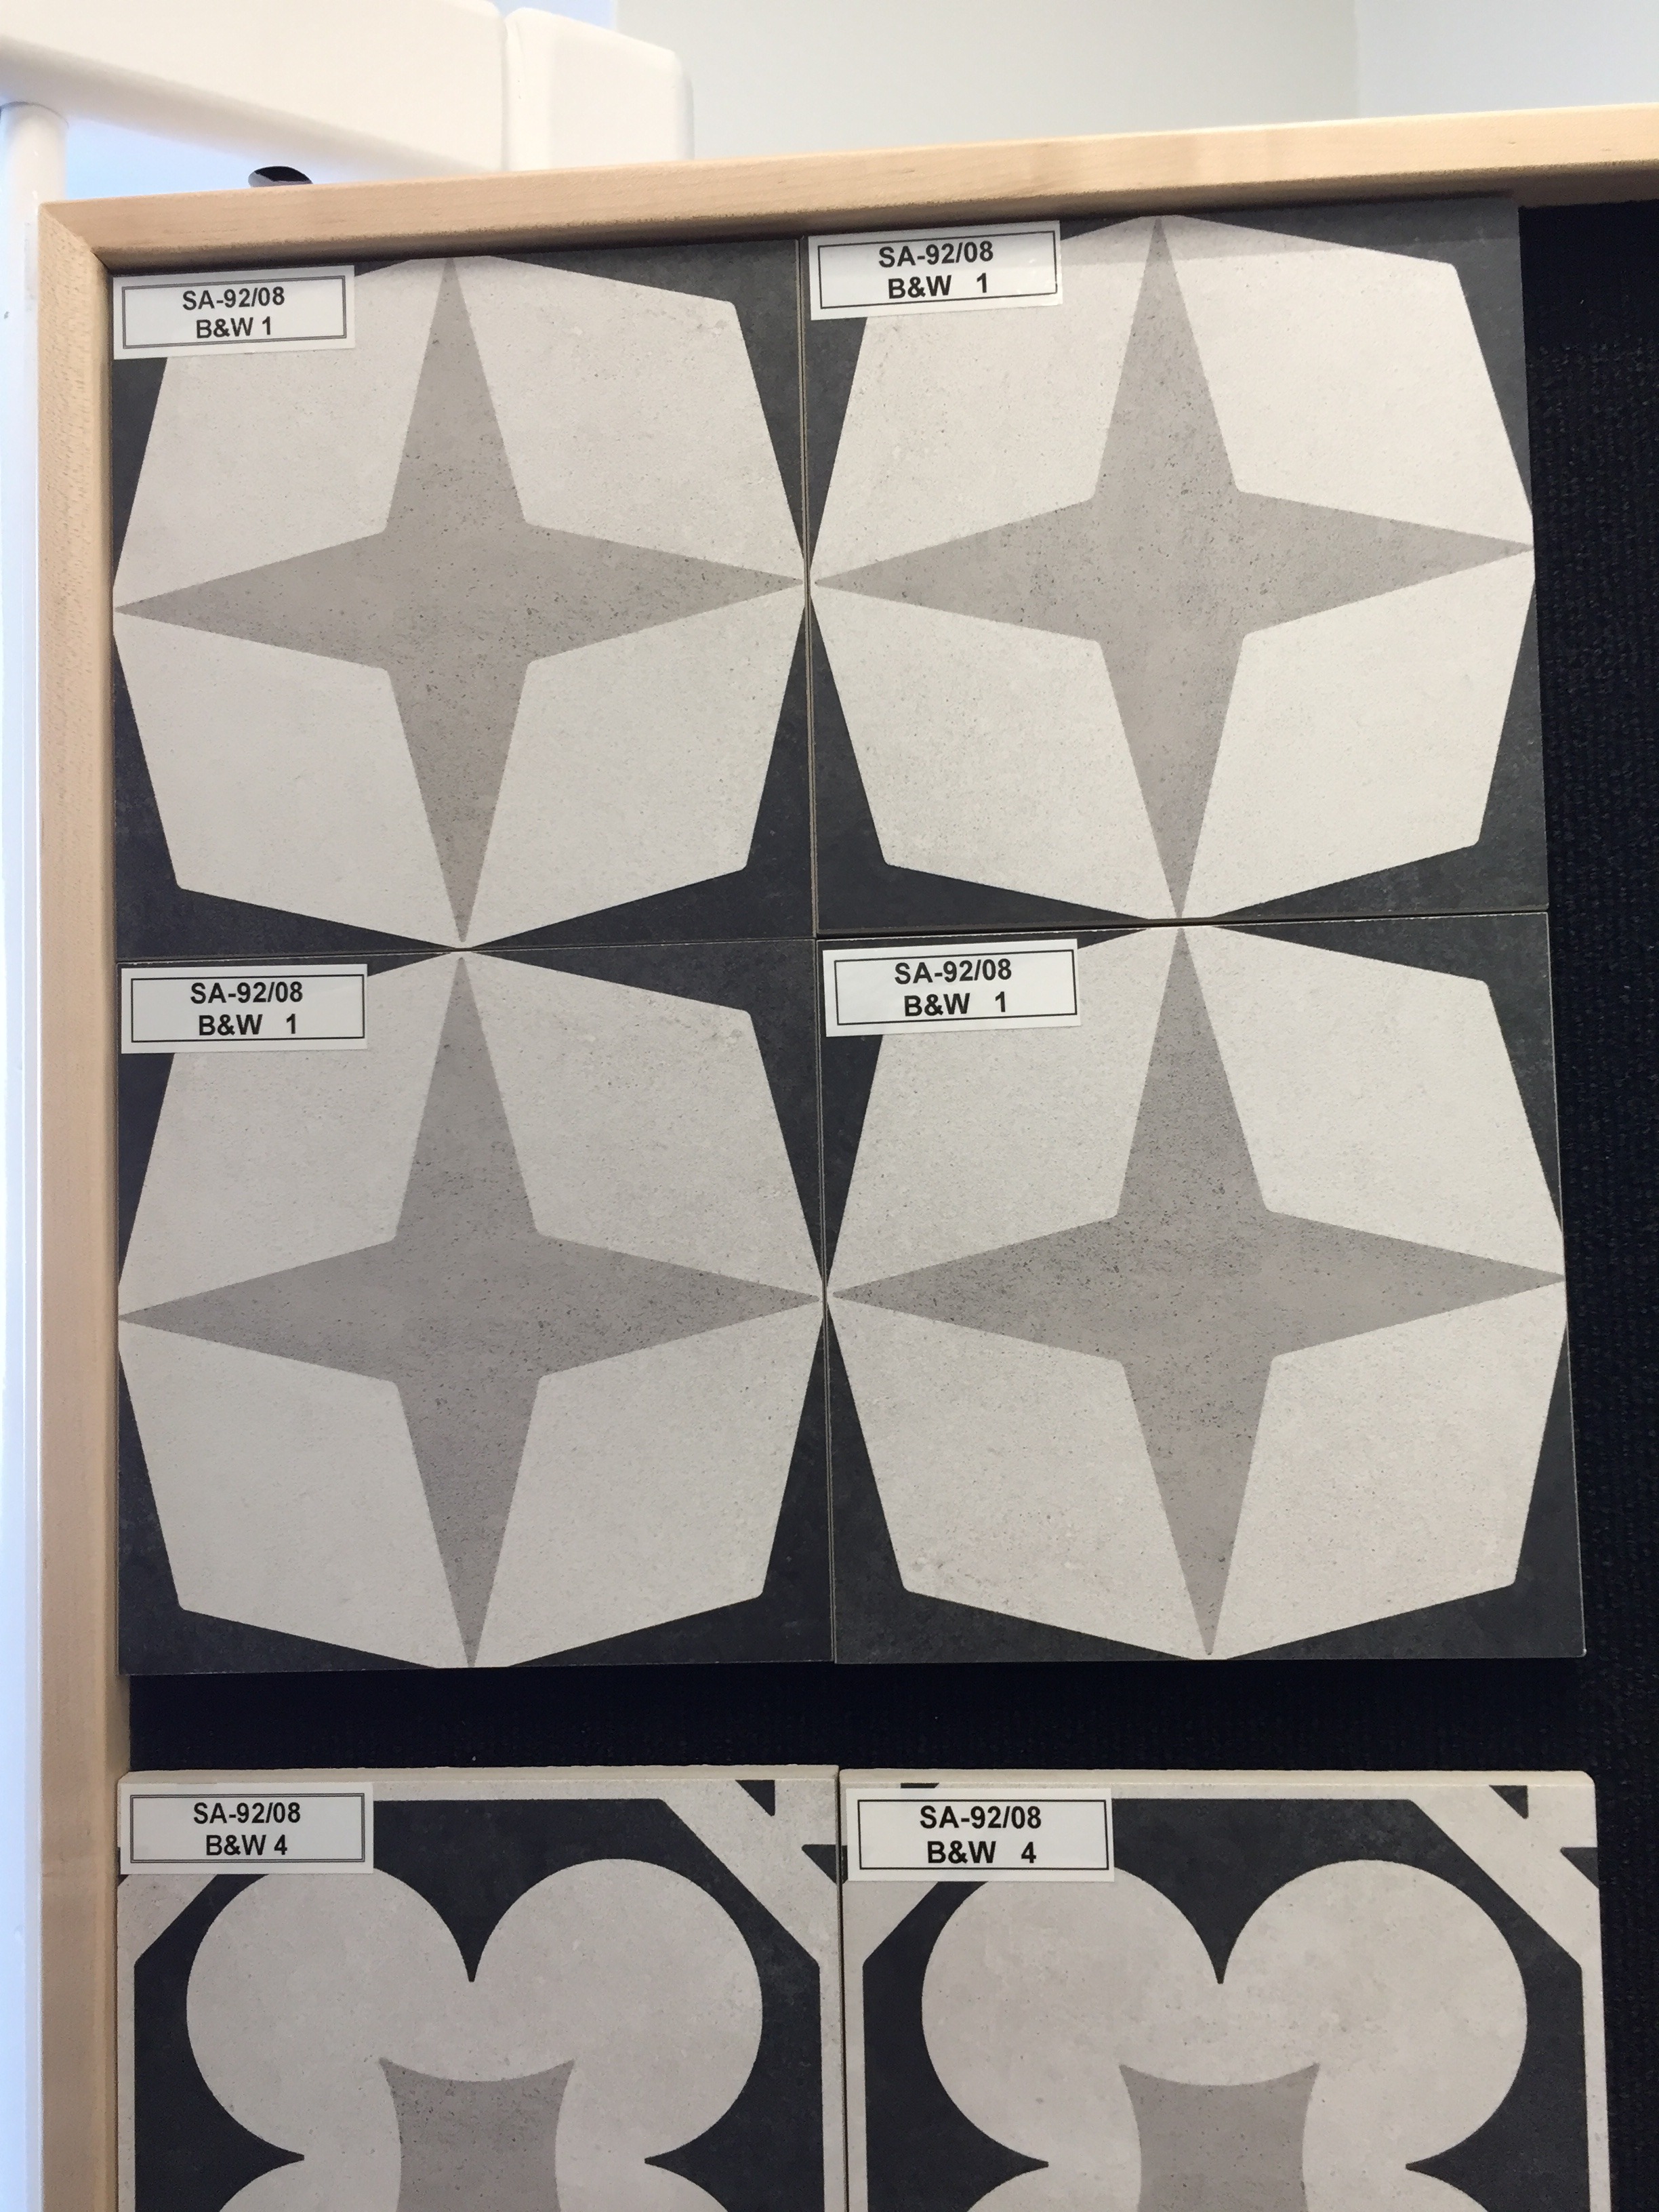
I love that they are black & white & grey and I love LOVE the star pattern. It was the perfect fit, and so I designed the rest of the room around it:
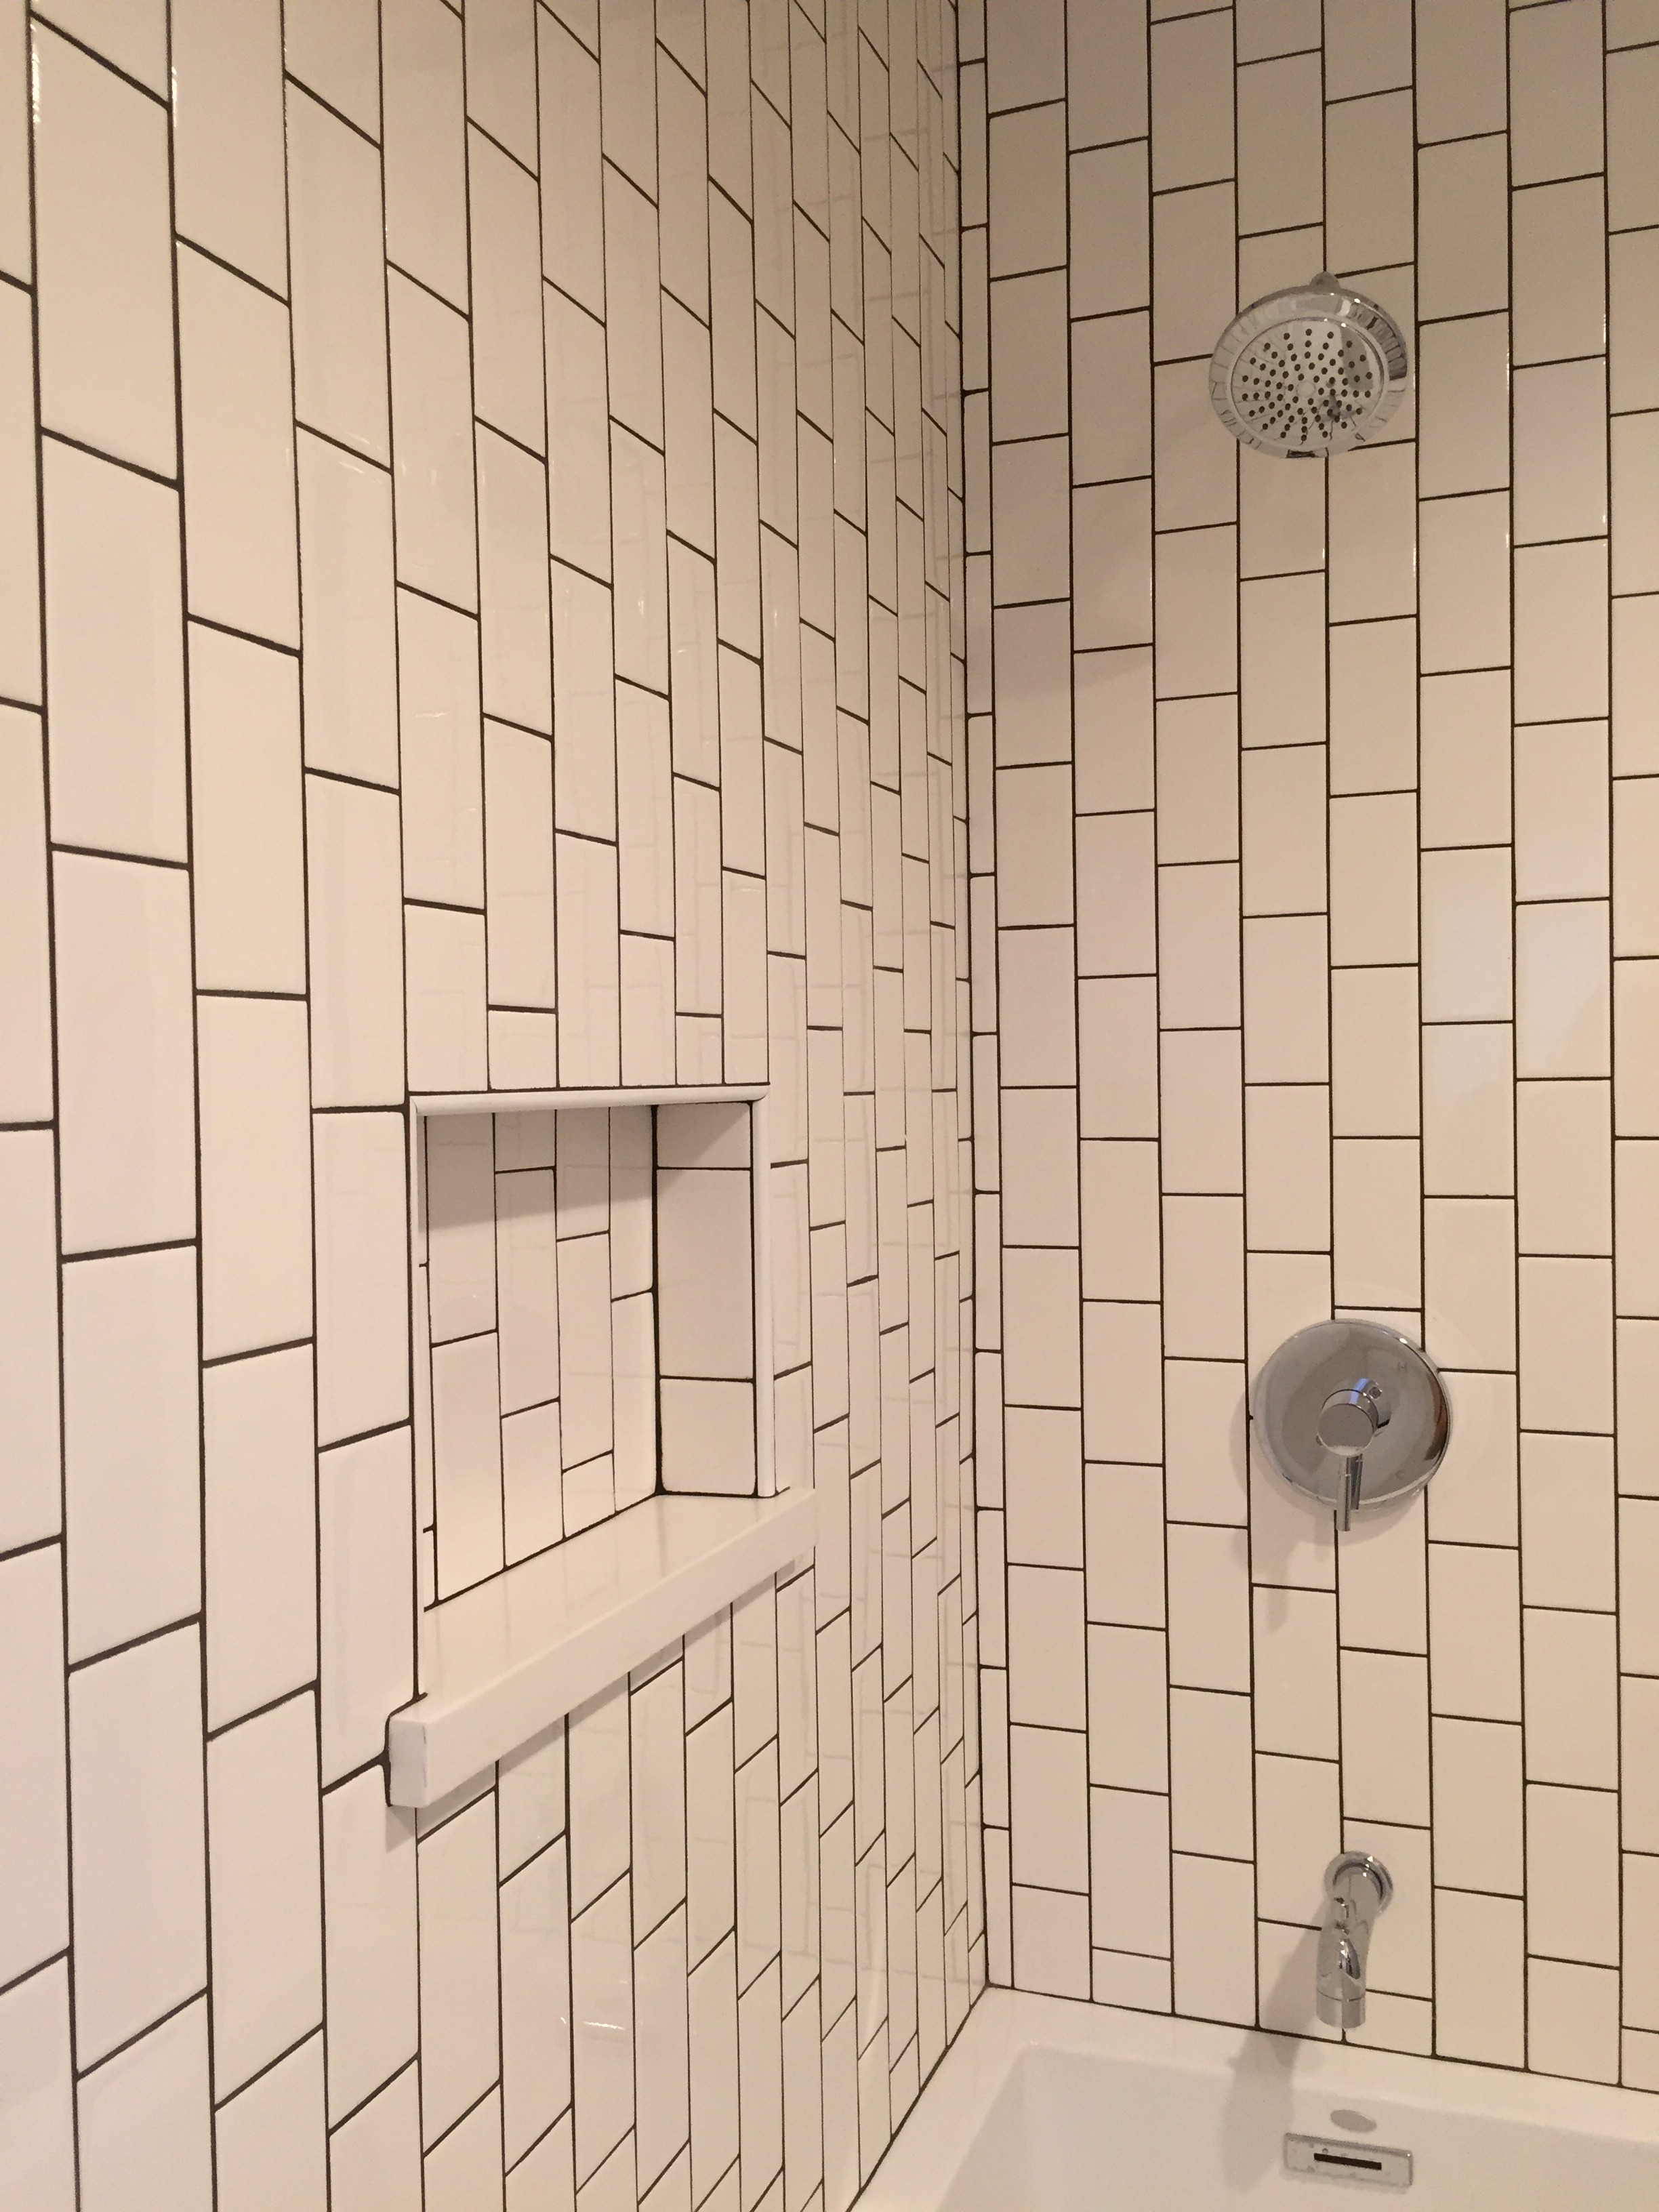
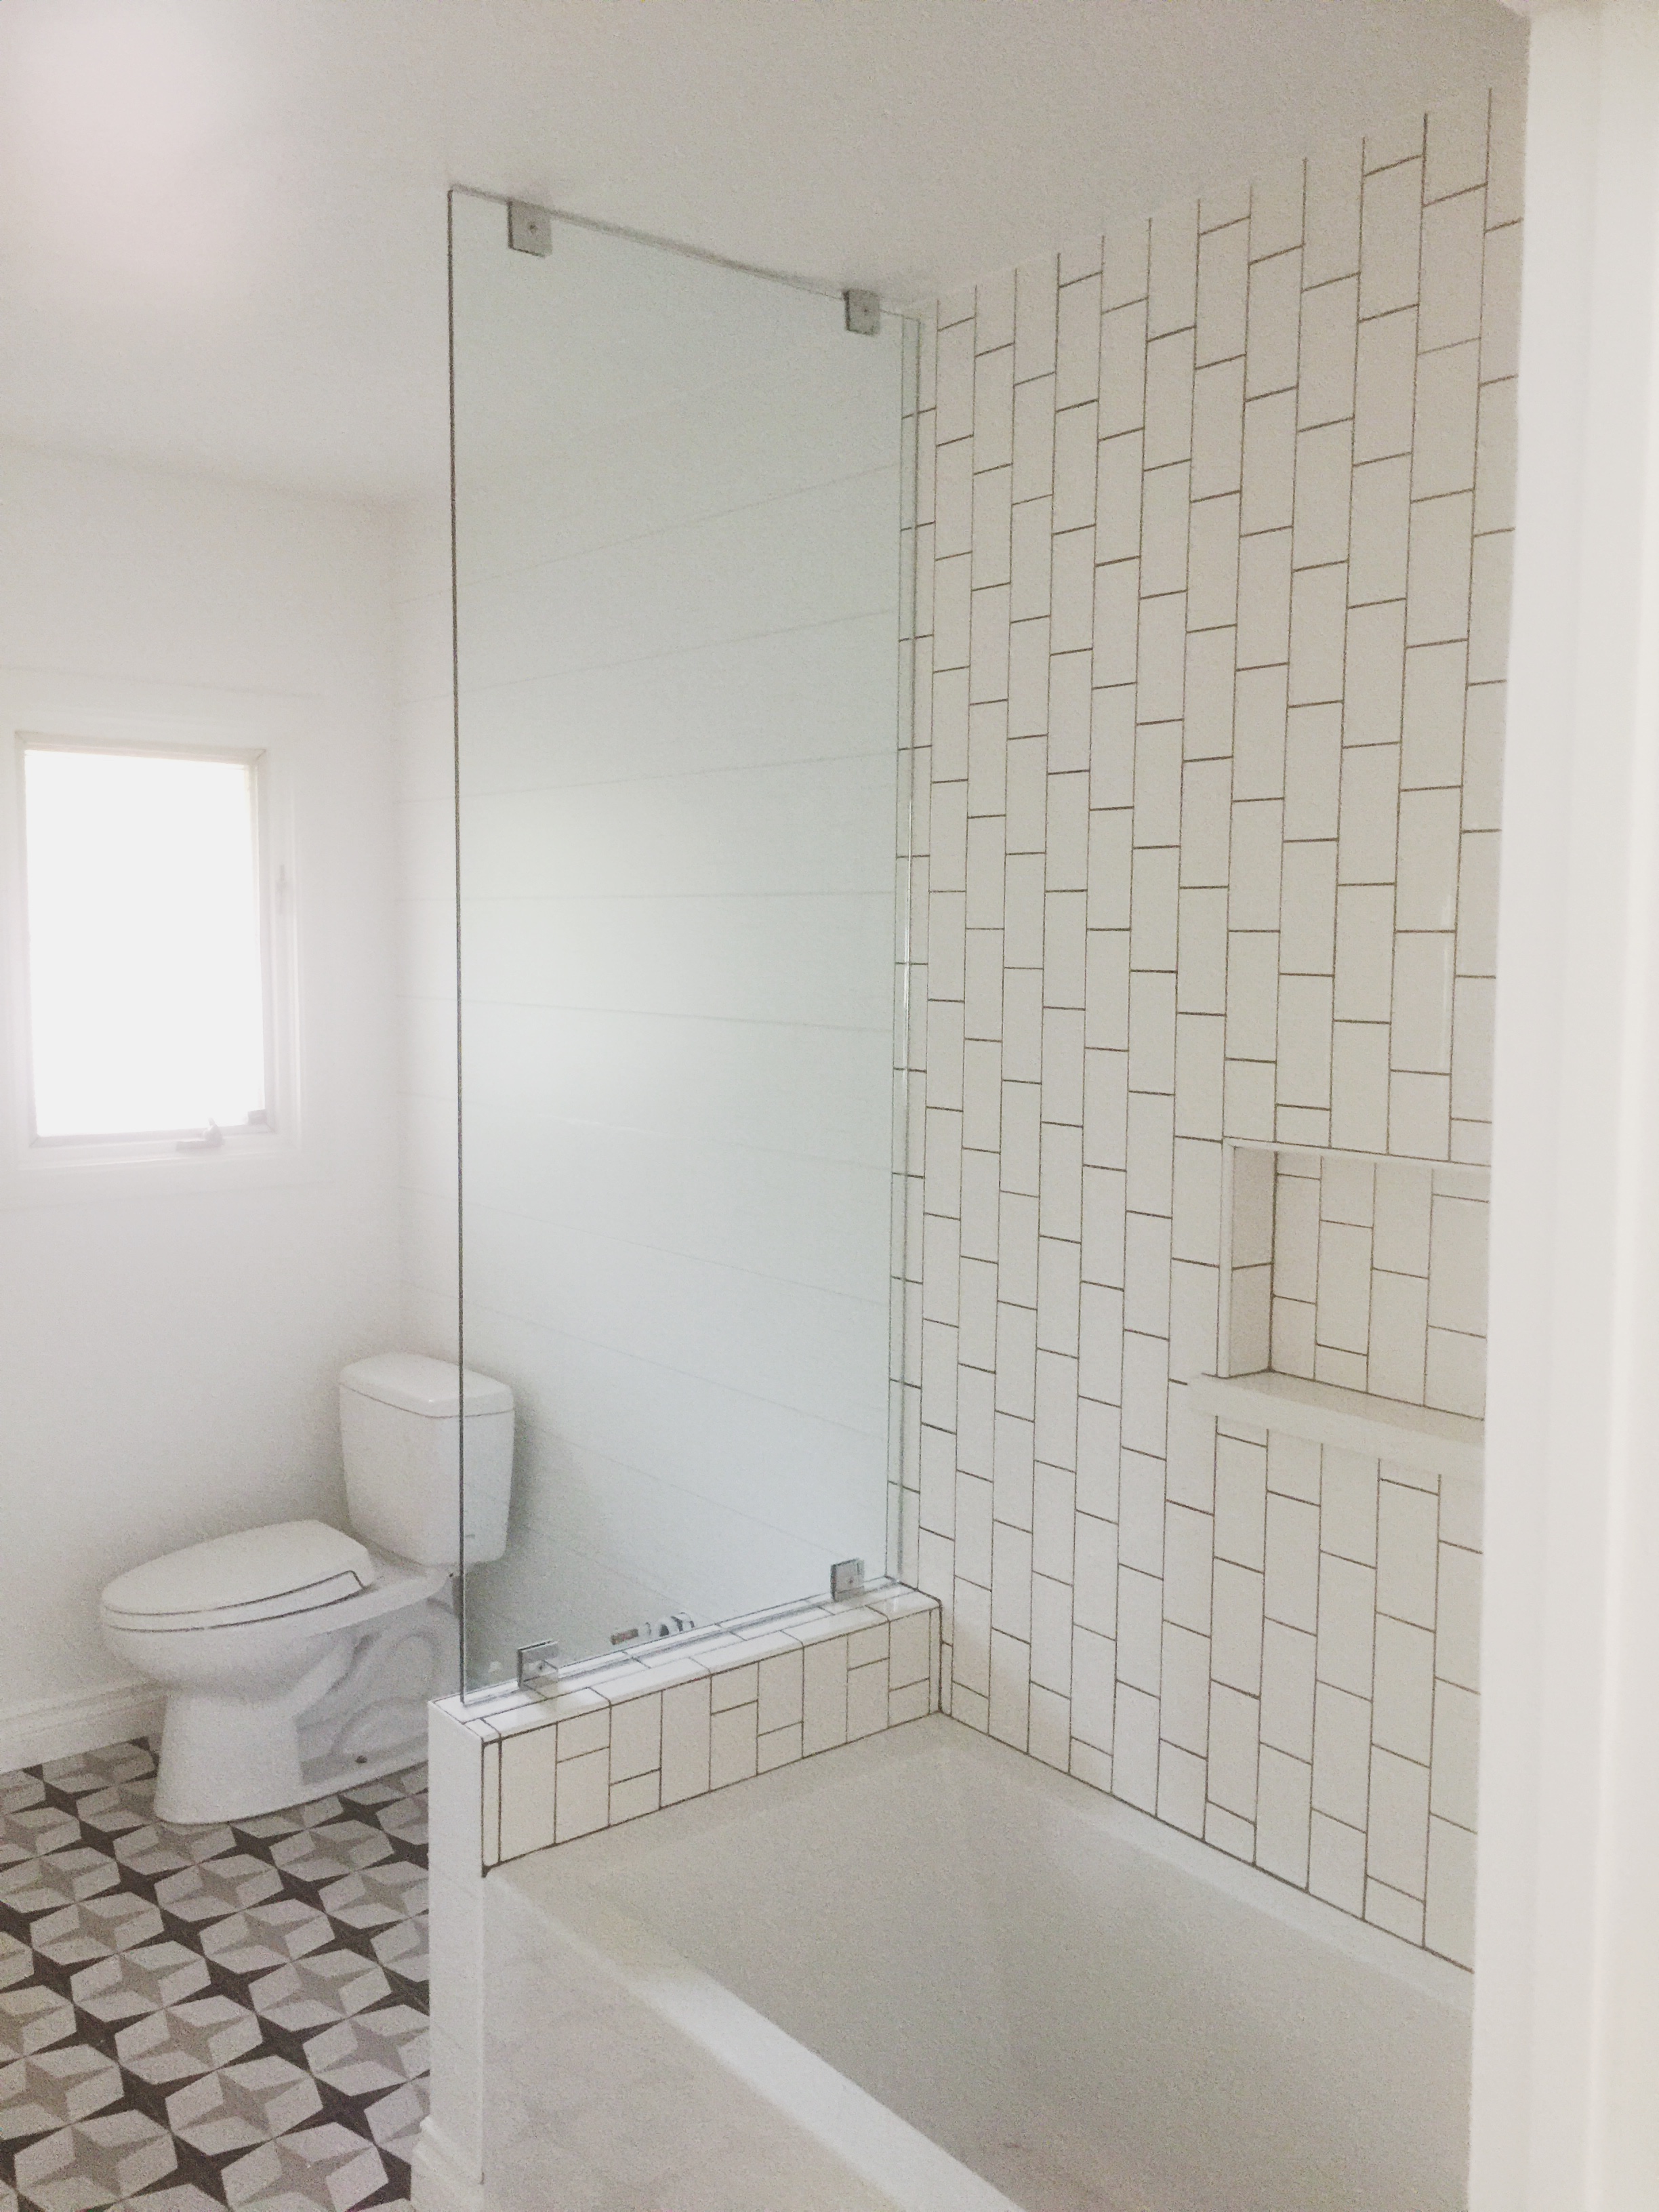
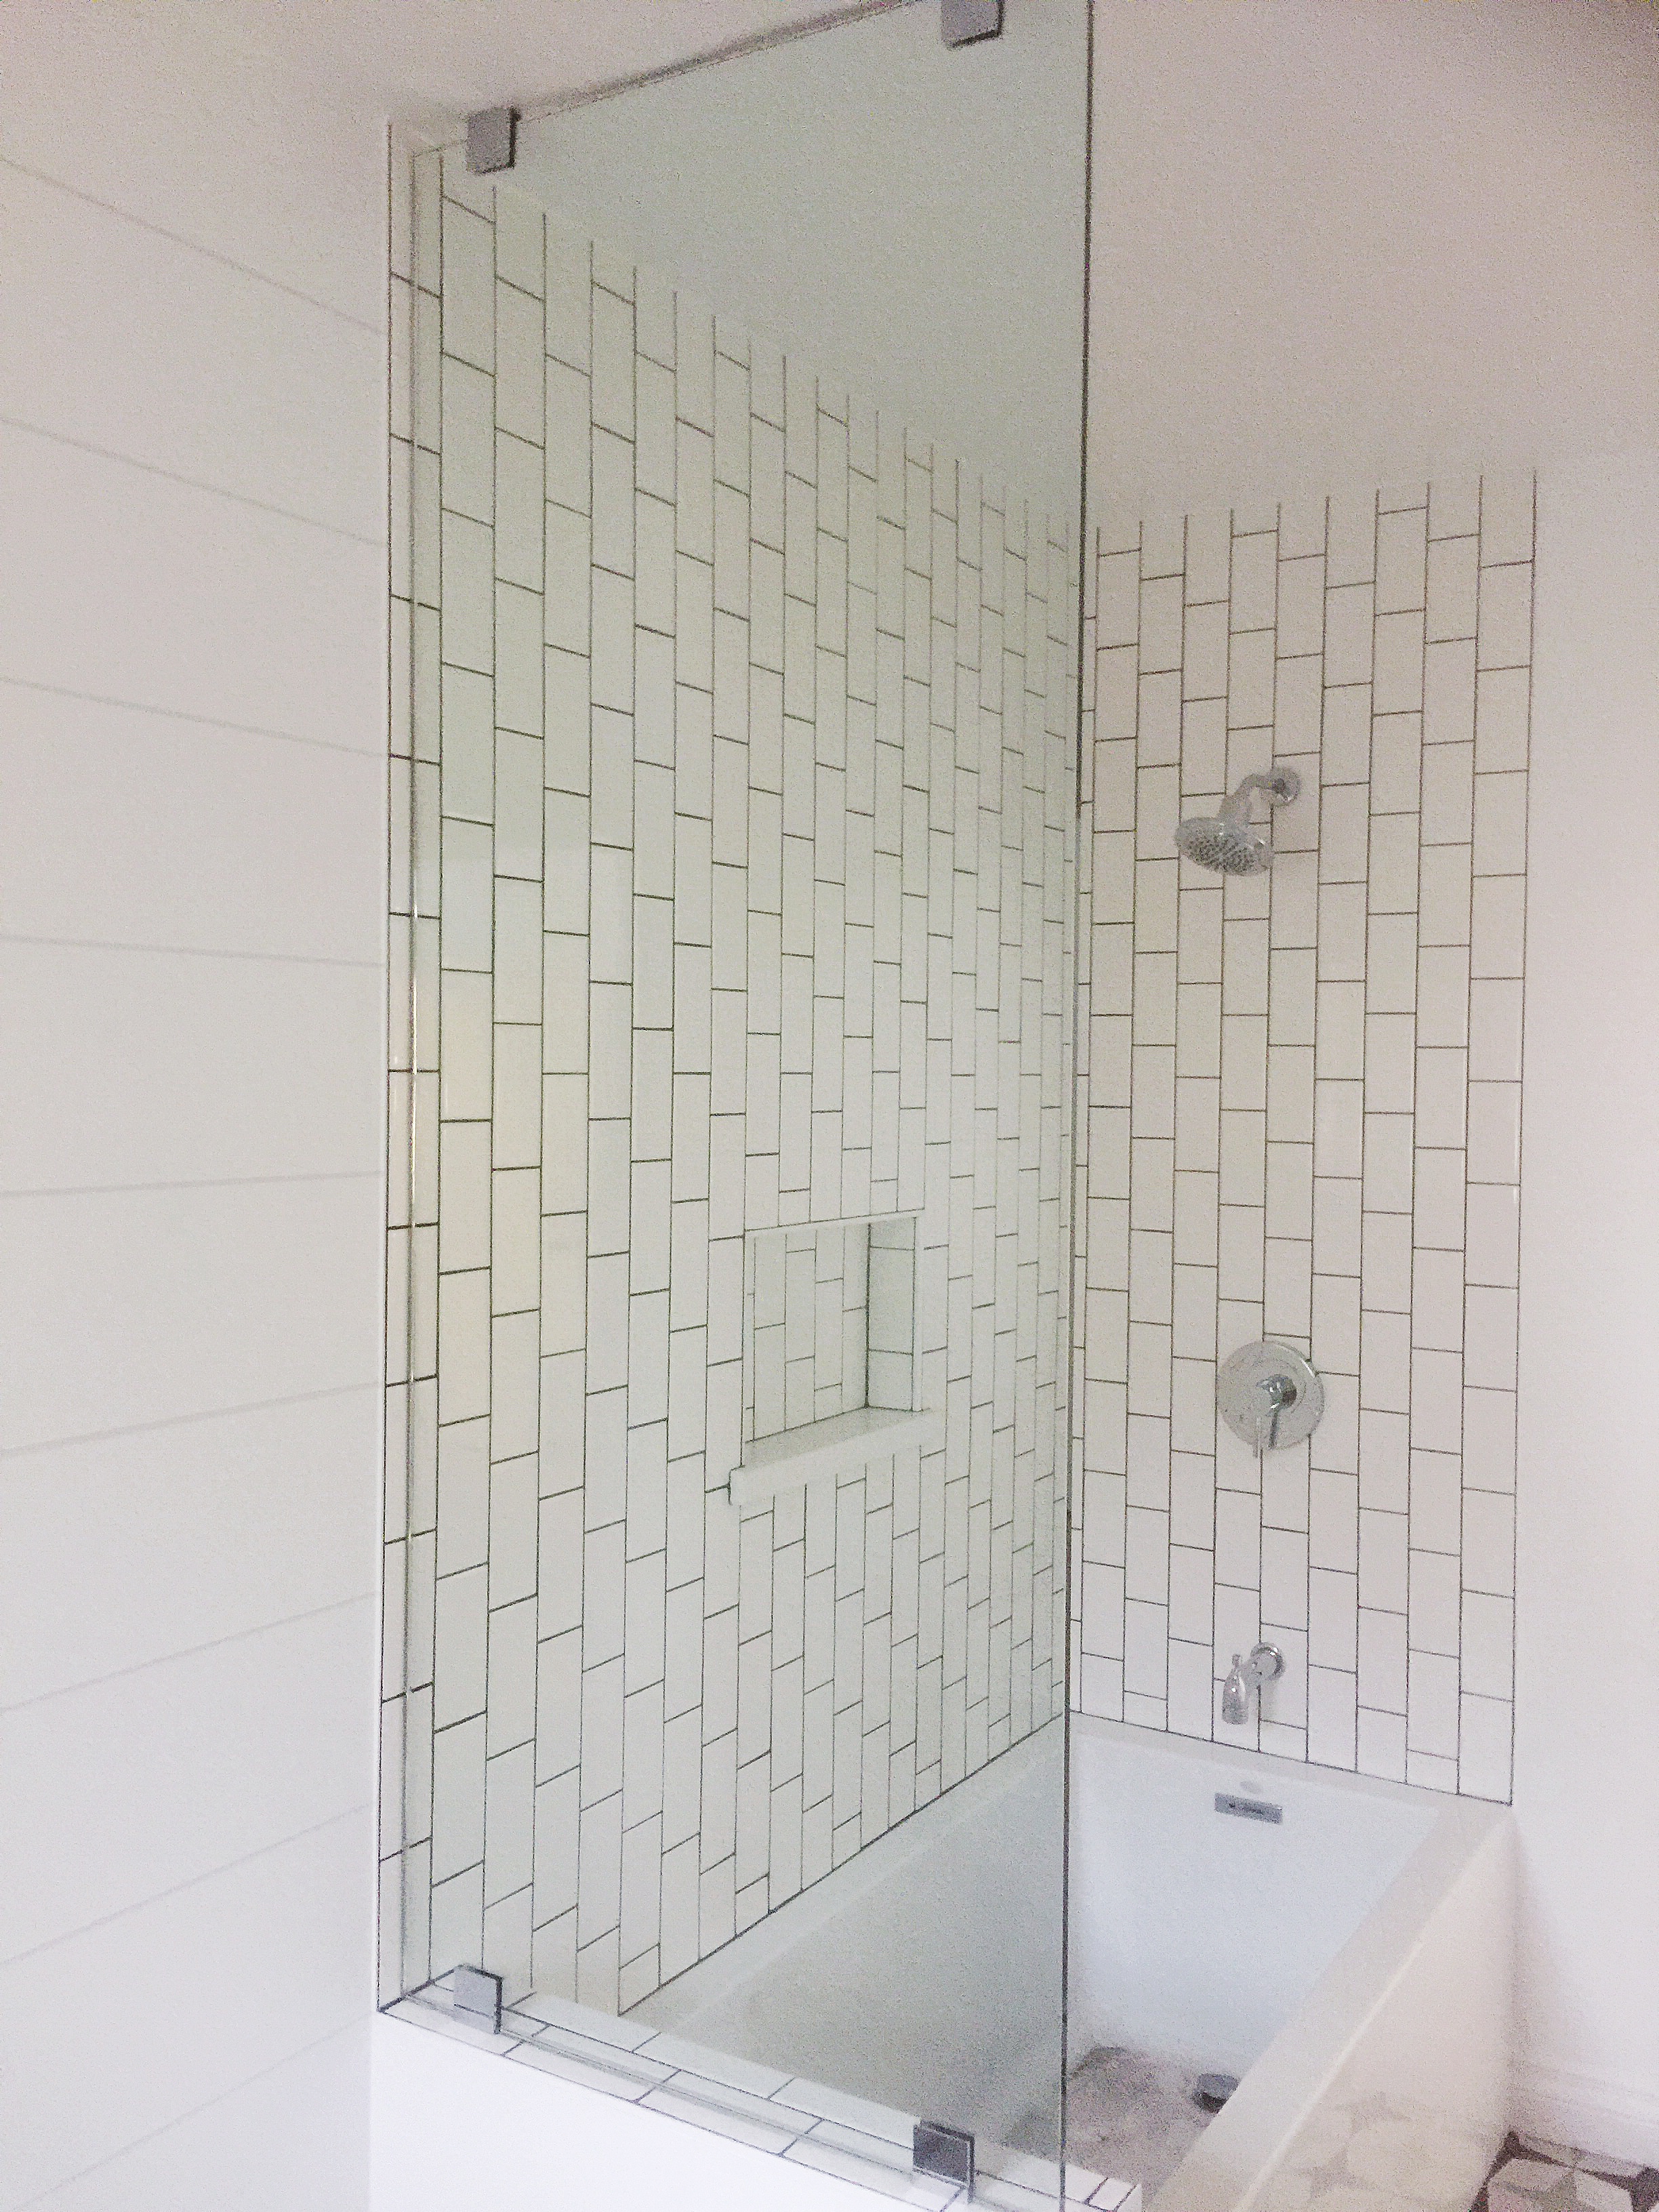
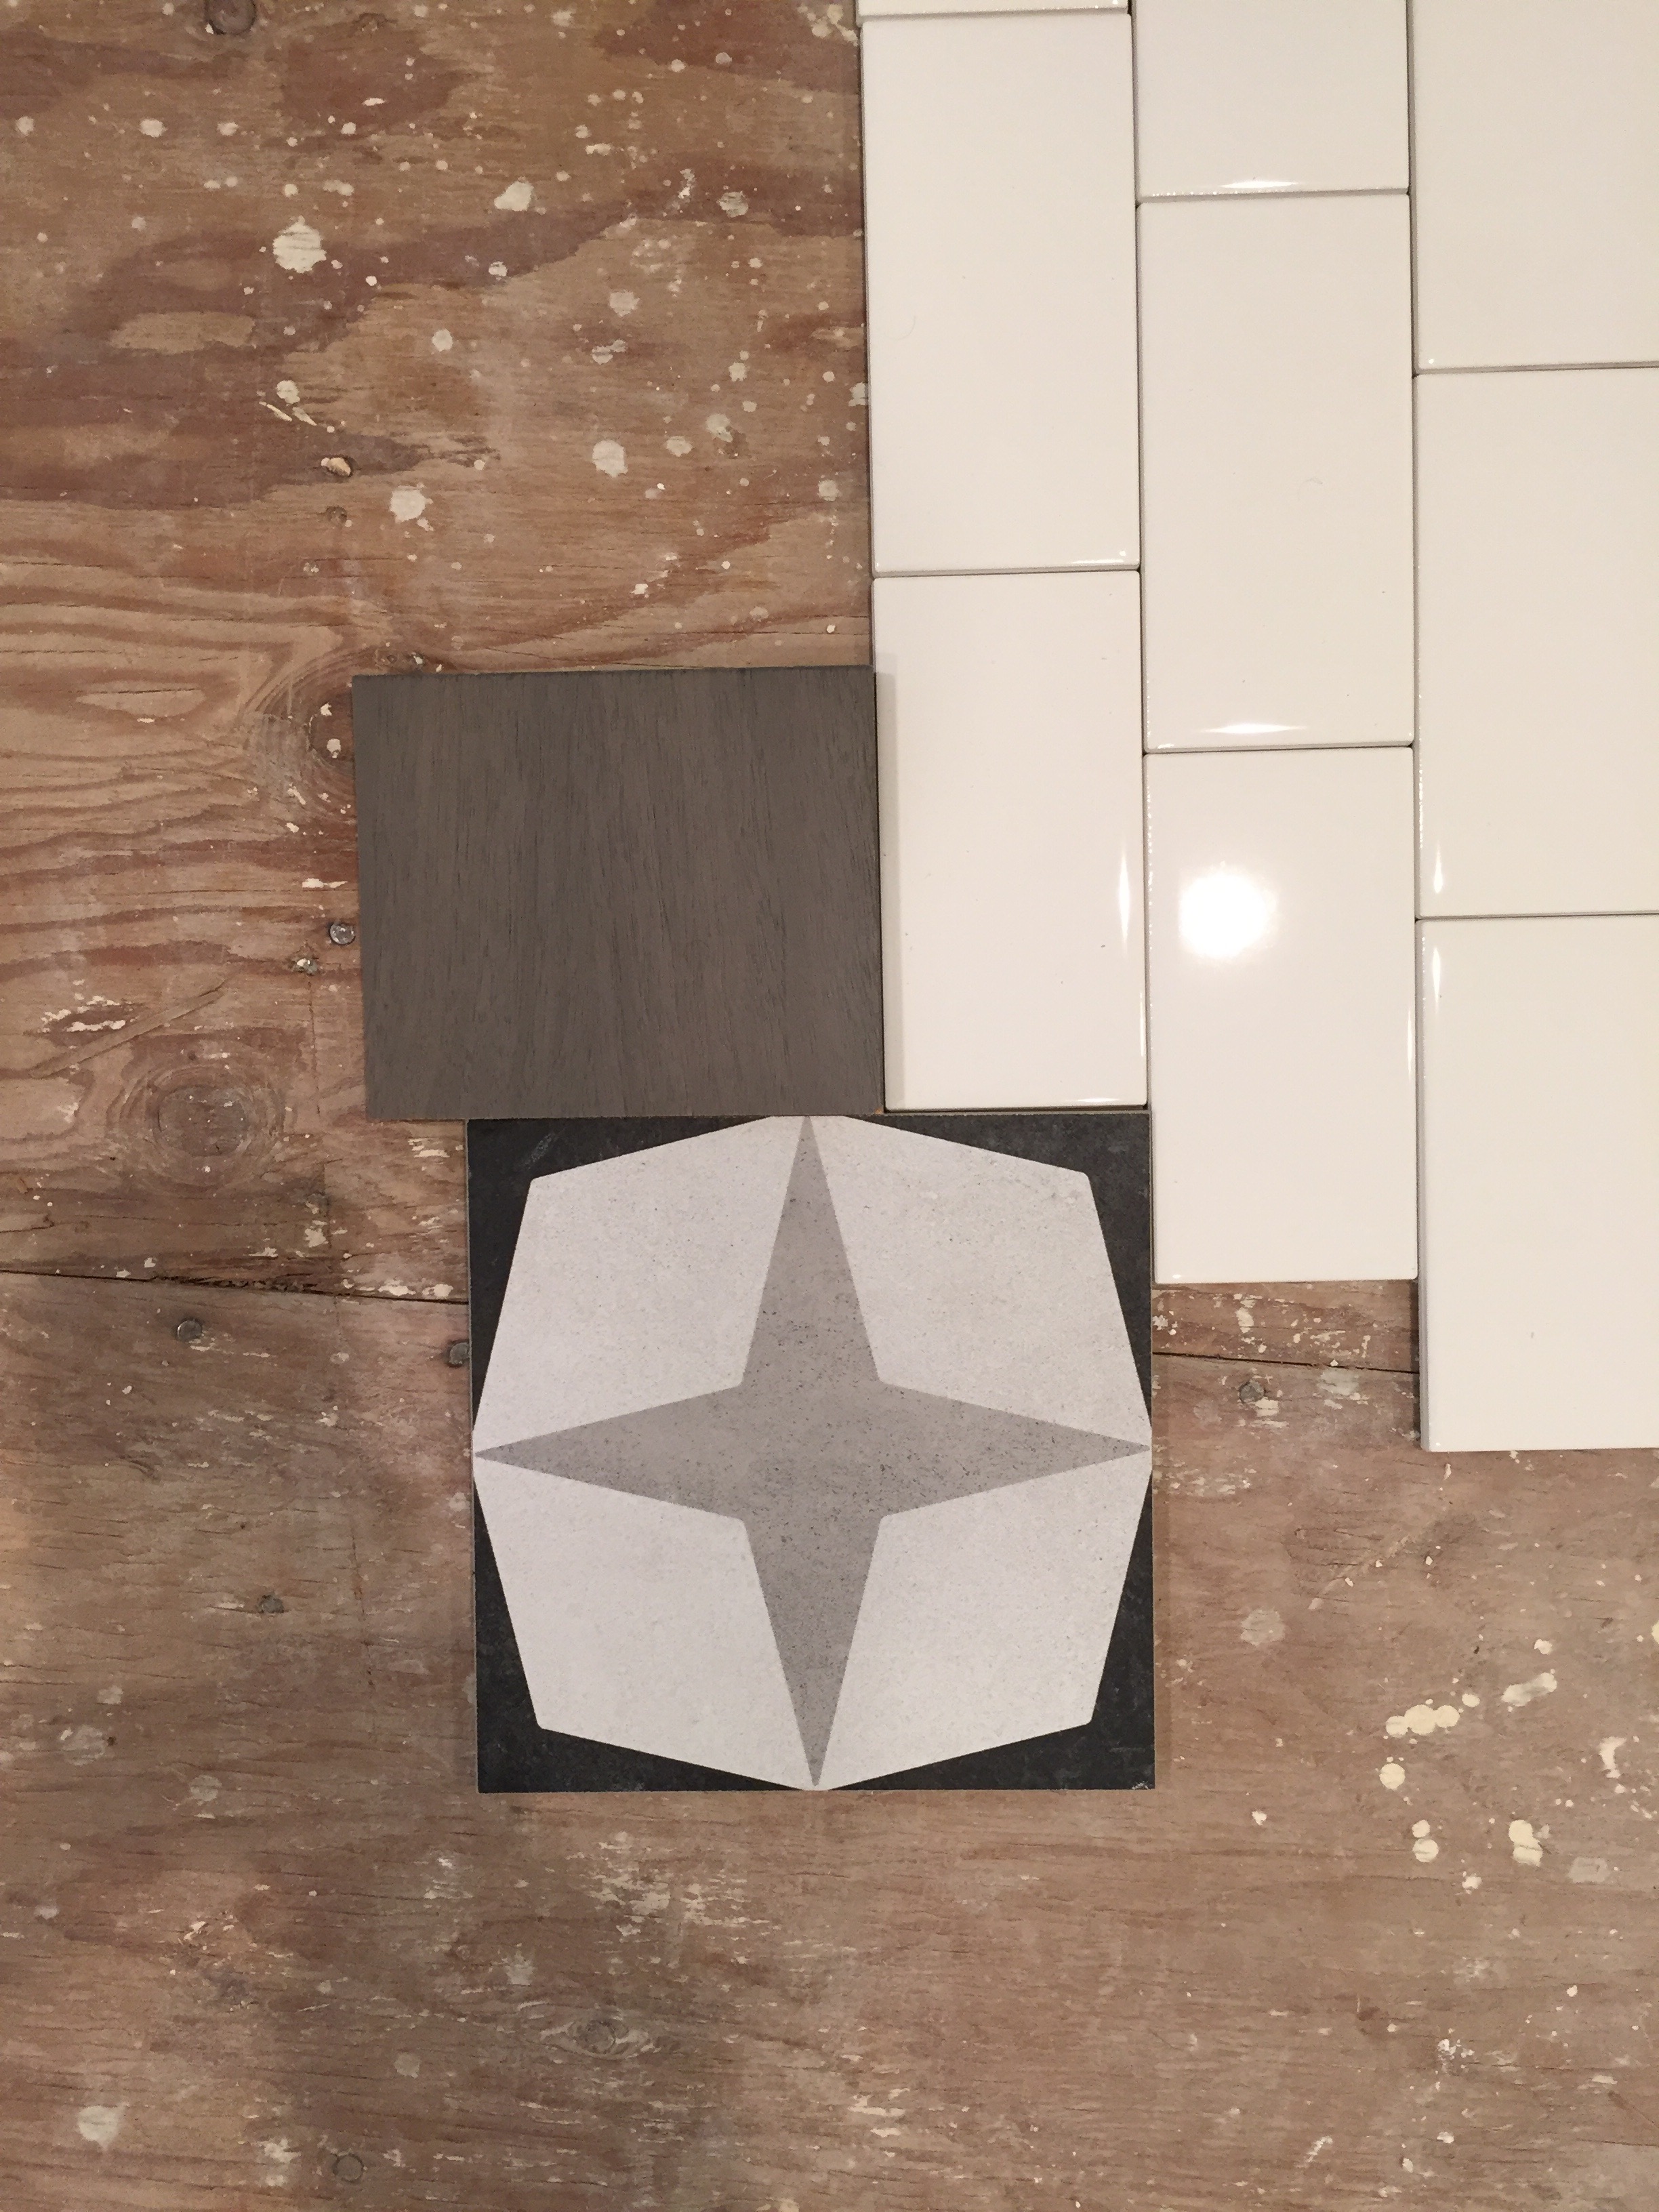 I decided to do vertical subway tile on the shower walls (durable AND affordable – they are like $1 at home depot) with dark grout to make it pop. The grey wood stain is for the custom floating vanity that is yet to come.
When they started installing the floor tile I had my usual moment of panic – was it too bold? would it make Brady’s head spin when he went to the bathroom??
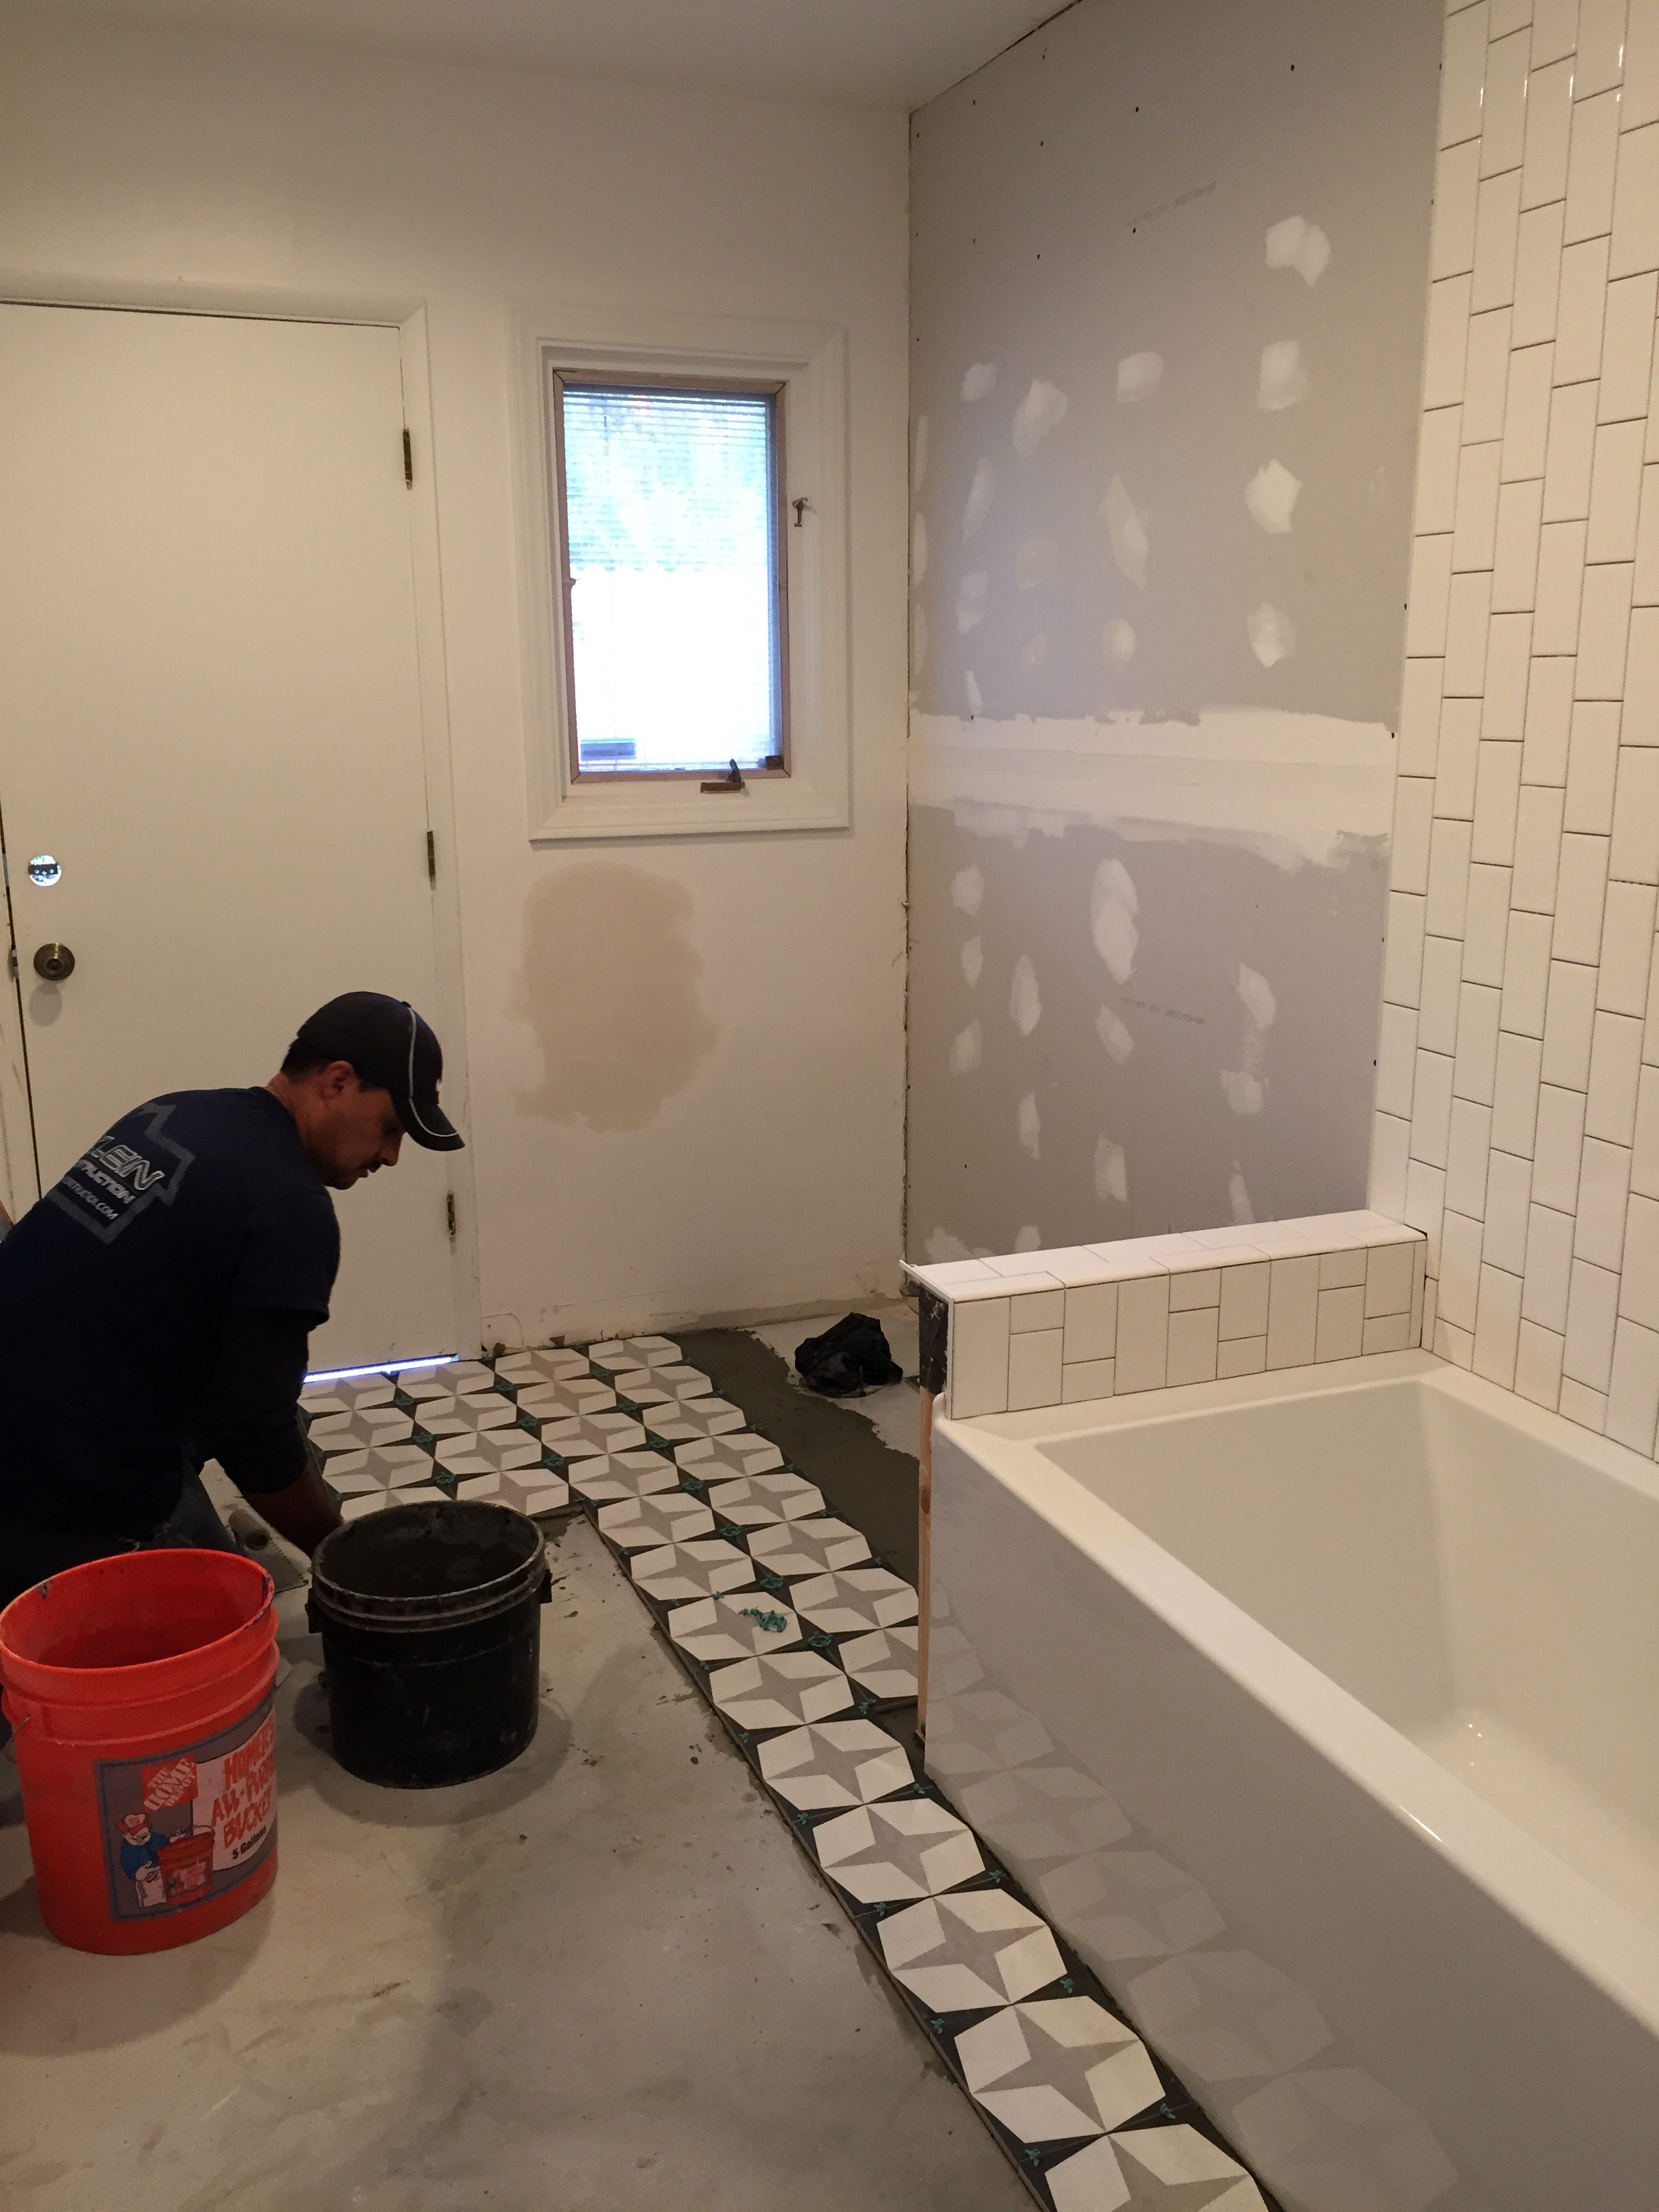

But as they progressed of course I fell in love with it 🙂
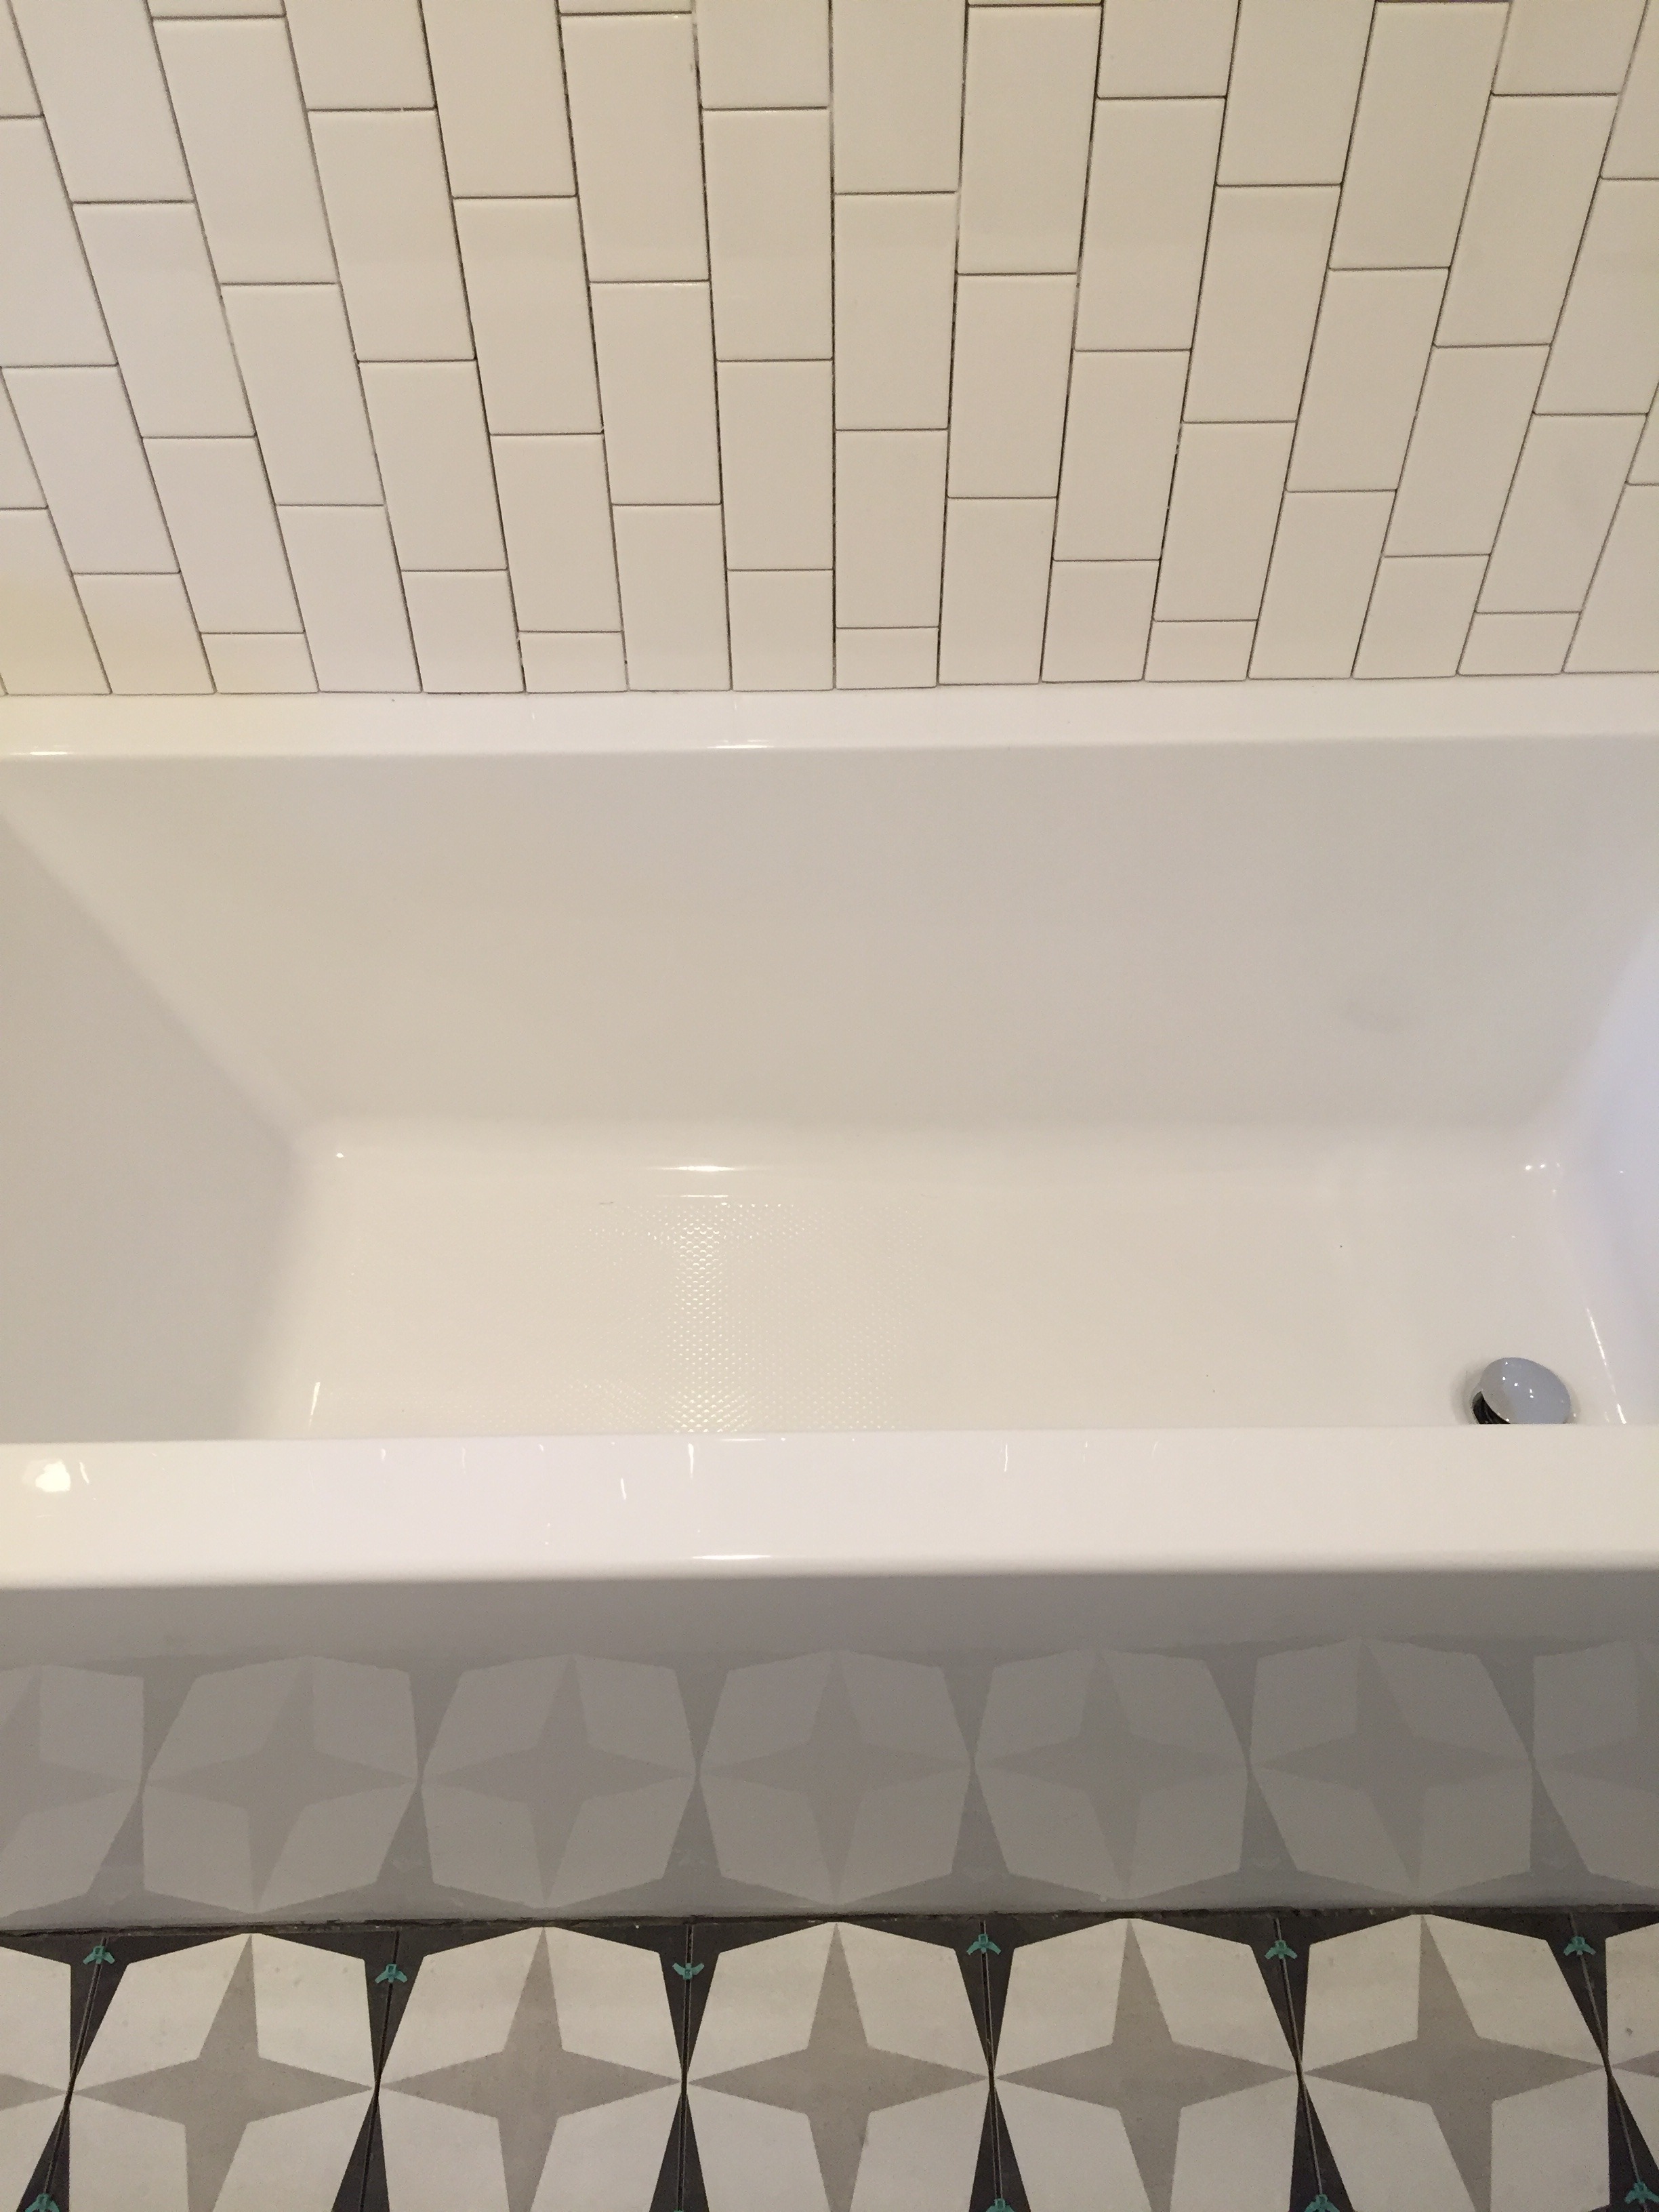

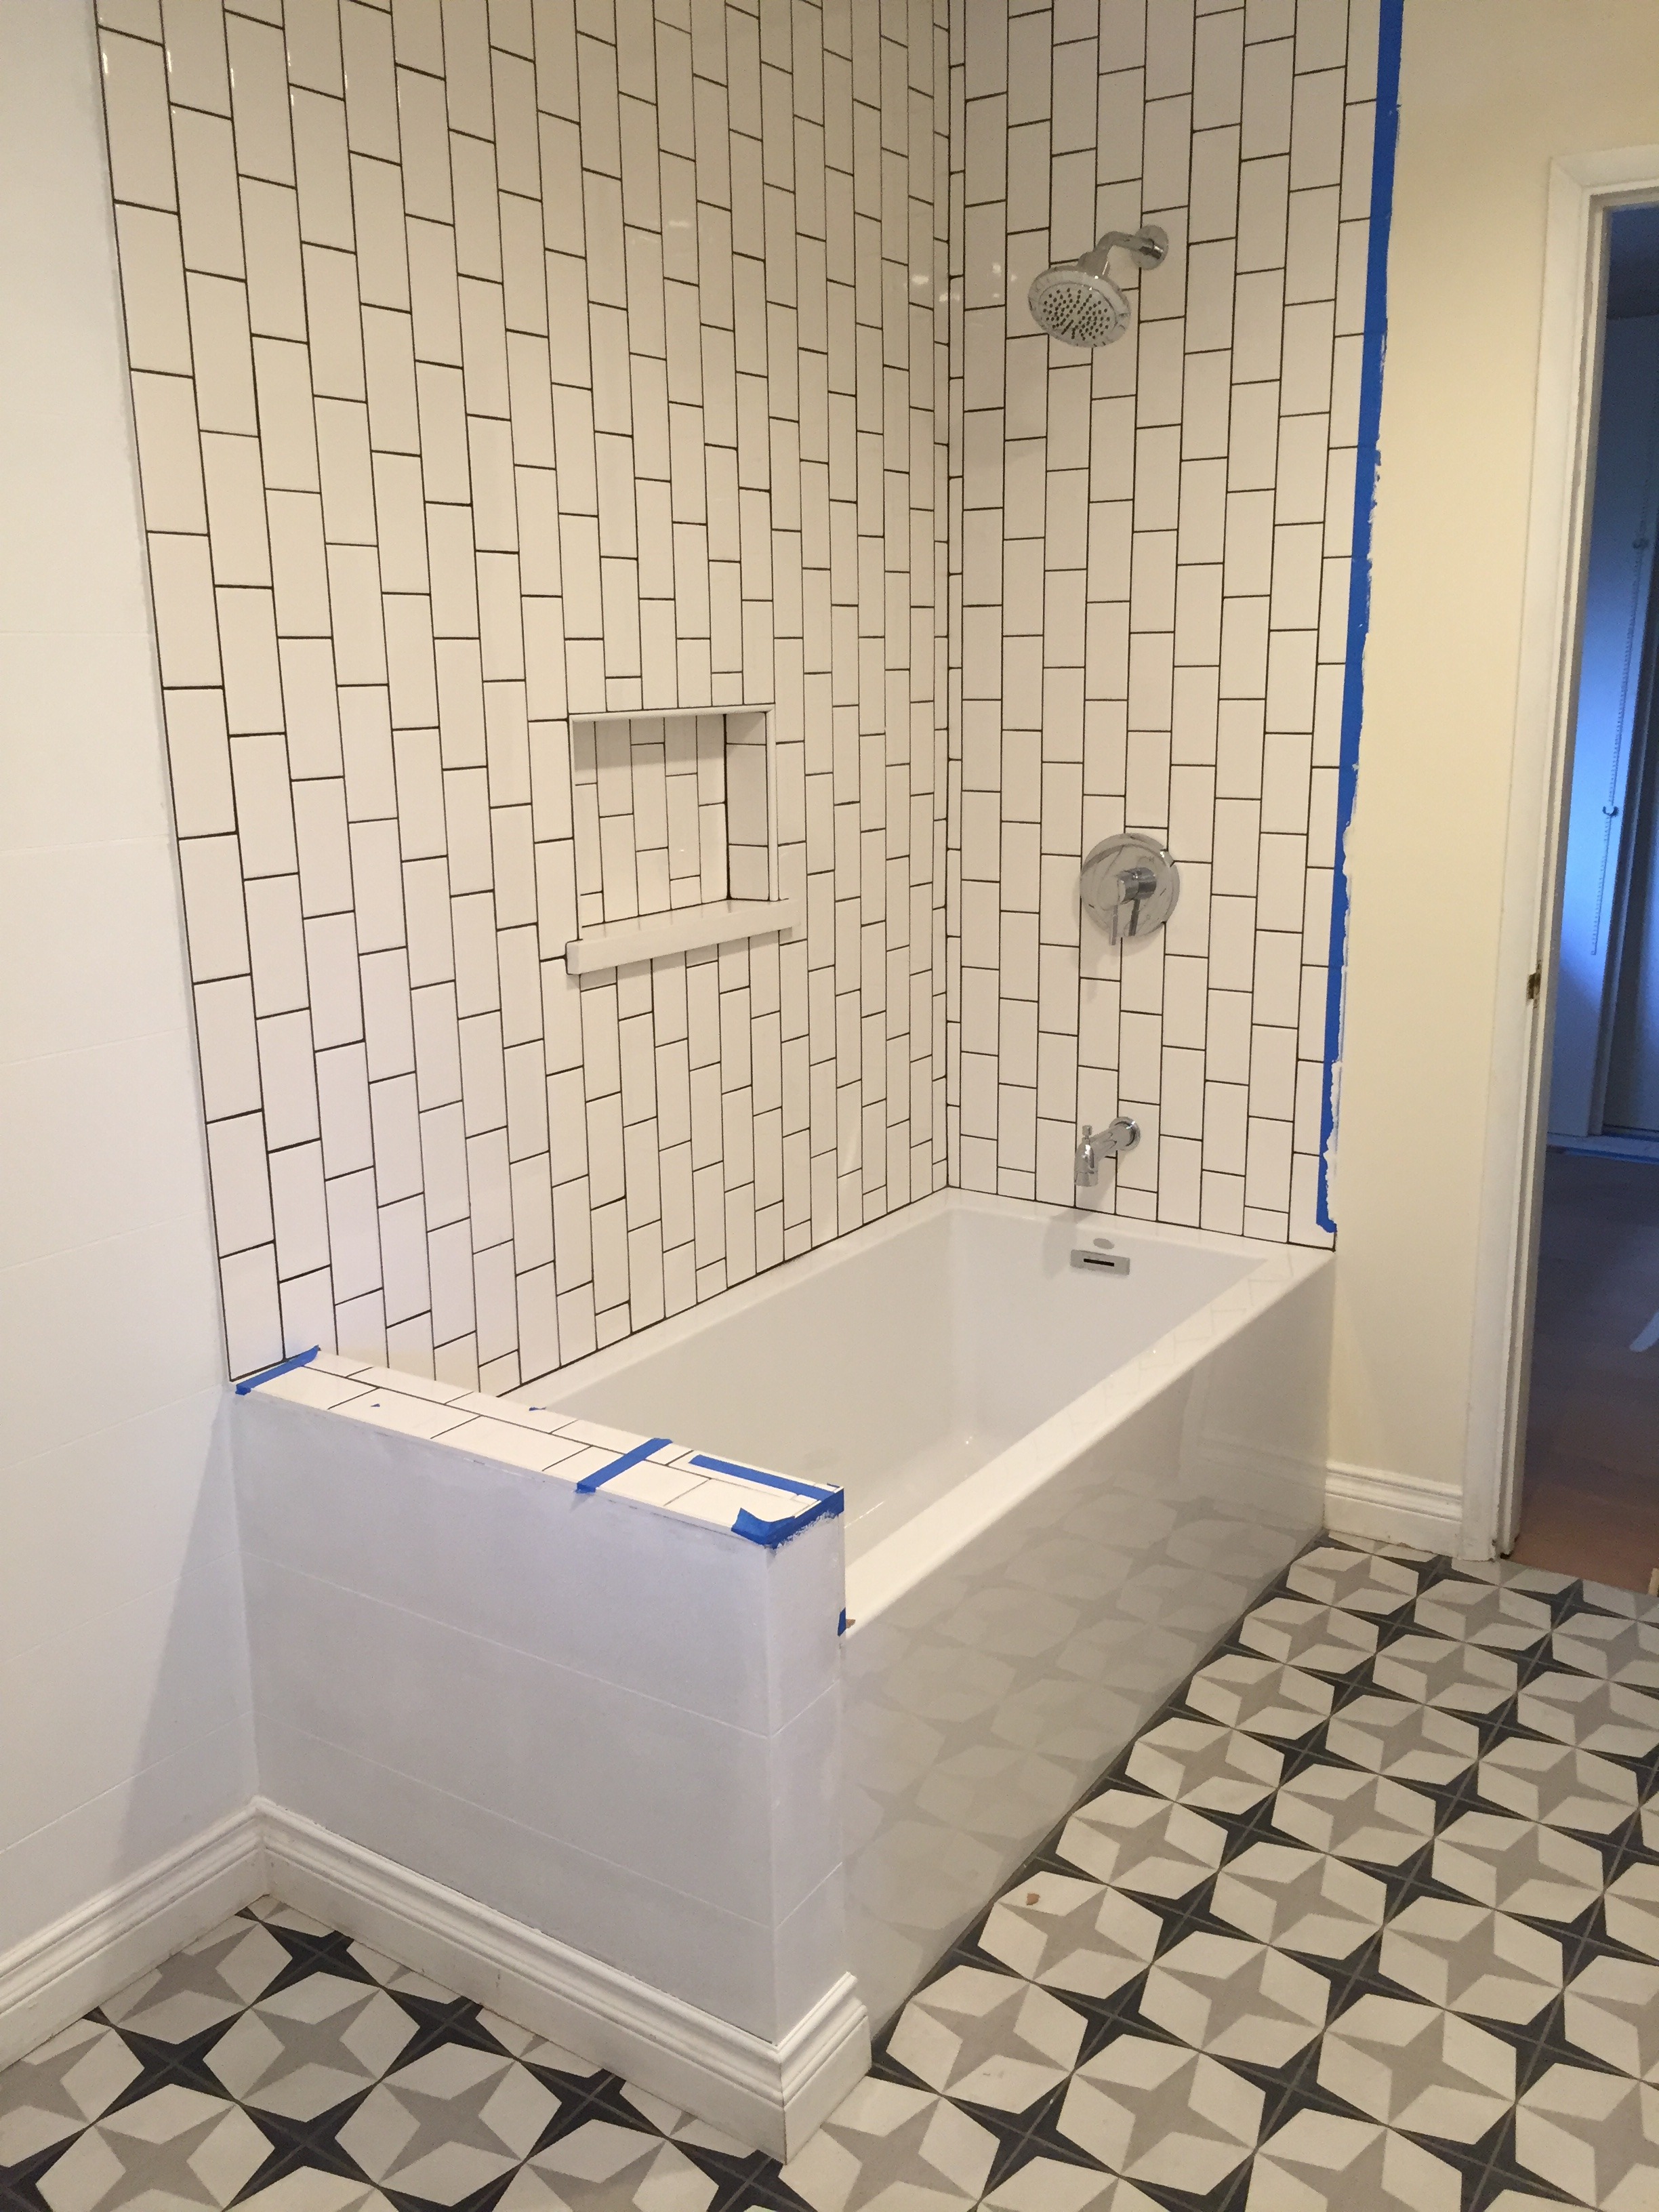
Once they added the dark grout to the subway tile and installed the chrome fixtures, things really started jiving:

Here’s a shot of Brady’s first time in the space. He was more excited to get into the tub, but I think he liked it??
 We added one panel of glass above the pony wall for now – it didn’t make sense to add the other pane of glass with a door because we (and by we I mean Jeremy) is down there on the floor every night giving this kid a bath and adding that glass would really be in the way. So, eventually it will be added but for now it looks like this:
And here is where we stand today. I didn’t mention but we added paneling that mimics ship lap on the wall behind the toilet/vanity to break up that space a bit. It actually turned out great and wasn’t a big cost:
This week the vanity is being built and the stone top is being fabricated. All we will need after that is a mirror (which I have a brass round mirror from Brady’s bedroom now that I will use) and a sconce above which is TBD. Couldn’t be happier with how this turned out. Stayed tuned for the finished product soon! xo, AE